


AM5 direct die cooling step-by-step
Step-by-step guide:
- Sourcing the required parts:
- Delidding tool, e.g. the one from der8auer
- Direct die frame for protecting the CPU, e.g. the one designed by der8auer
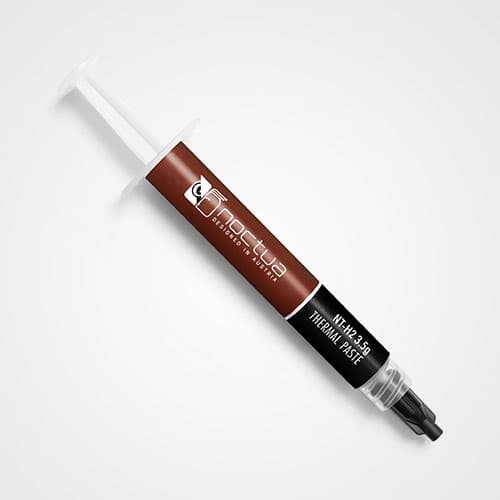
- Liquid metal thermal compound, e.g. Conductonaut
- Cleaning equipment: Razor blade, isopropyl alcohol, extra liquid metal compound
- Spacers for lowering the cooler (included with NM-DD1 or 3D printed from Printables.com)
- Screws for reinstalling the fastening brackets with spacers (included with NM-DD1 or purchased separately, 4x M3x12 for NM-DDS1 or 1x M4x10 for NM-DDS2)
- Delidding the CPU: Remove the CPU’s integrated heat spreader following the manual that came with the delidding tool.
- Cleaning the CPU: Remove residues of solder or glue. This can be done by manually scraping-off the residues using a razor blade, or by putting some liquid metal onto the solder residues, which will dissolve them so that they can be wiped off.
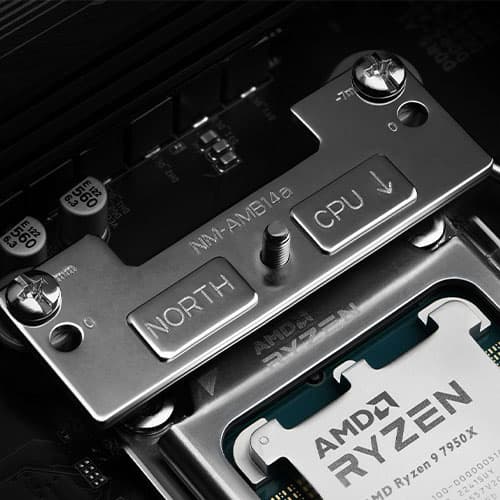
- Installing the CPU with the direct die frame: First remove the regular socket actuation mechanism (SAM), then install the CPU with the direct die protection frame as described in the manual of the frame.
- Preparing the cooler: Remove the fastening bracket(s), put on the spacer(s) and then reinstall the brackets using the longer screws as depicted in the NM-DD1 manual.
- Apply liquid metal thermal compound: Carefully apply a small dot of liquid metal on each of the CPUs dies and spread it to a thin layer using a cotton swab or other device that came with the liquid metal.
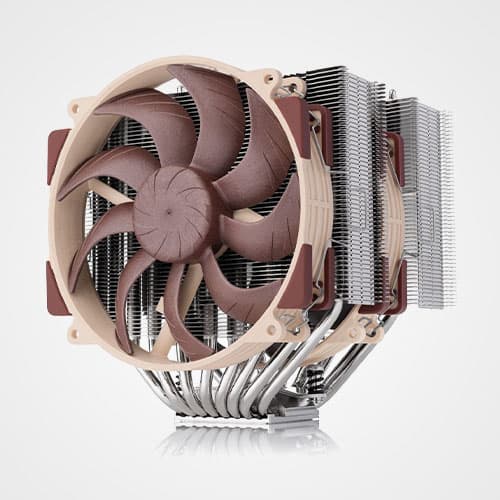
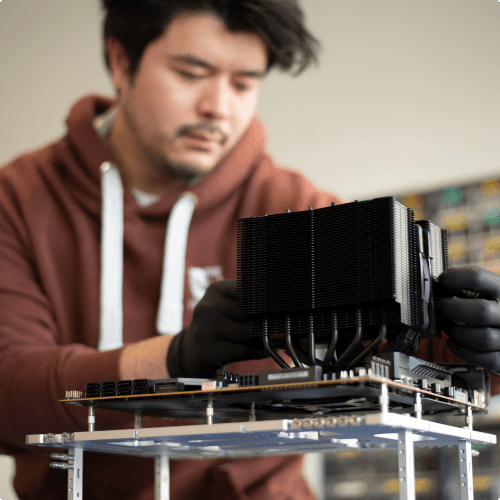
- Install the CPU cooler according to its manual.
- Enjoy a significant reduction in temperatures!
Related articles
Want to know more on this topic? Explore relevant articles and resources.

Offset AM5 mounting: technical backgrounds
tech
Noctua’s AM5 offset mounting bars shift heatsinks to the south side of the AM5 socket. But why is this necessary, and how much does it improve cooling performance?

AMD AM5 – all you need to know
guides
As AM4 and AM5 use the same mounting system, all Noctua coolers compatible with AM4 also work with AM5. Here's what you need to know.

NH-D15 G2 versions: heatsink contact quality optimisation explained
tech
guides
The NH-D15 G2 is available in three different base convexity versions. But what is the benefit of this, and which version is the right choice for your setup?