NM-DD1
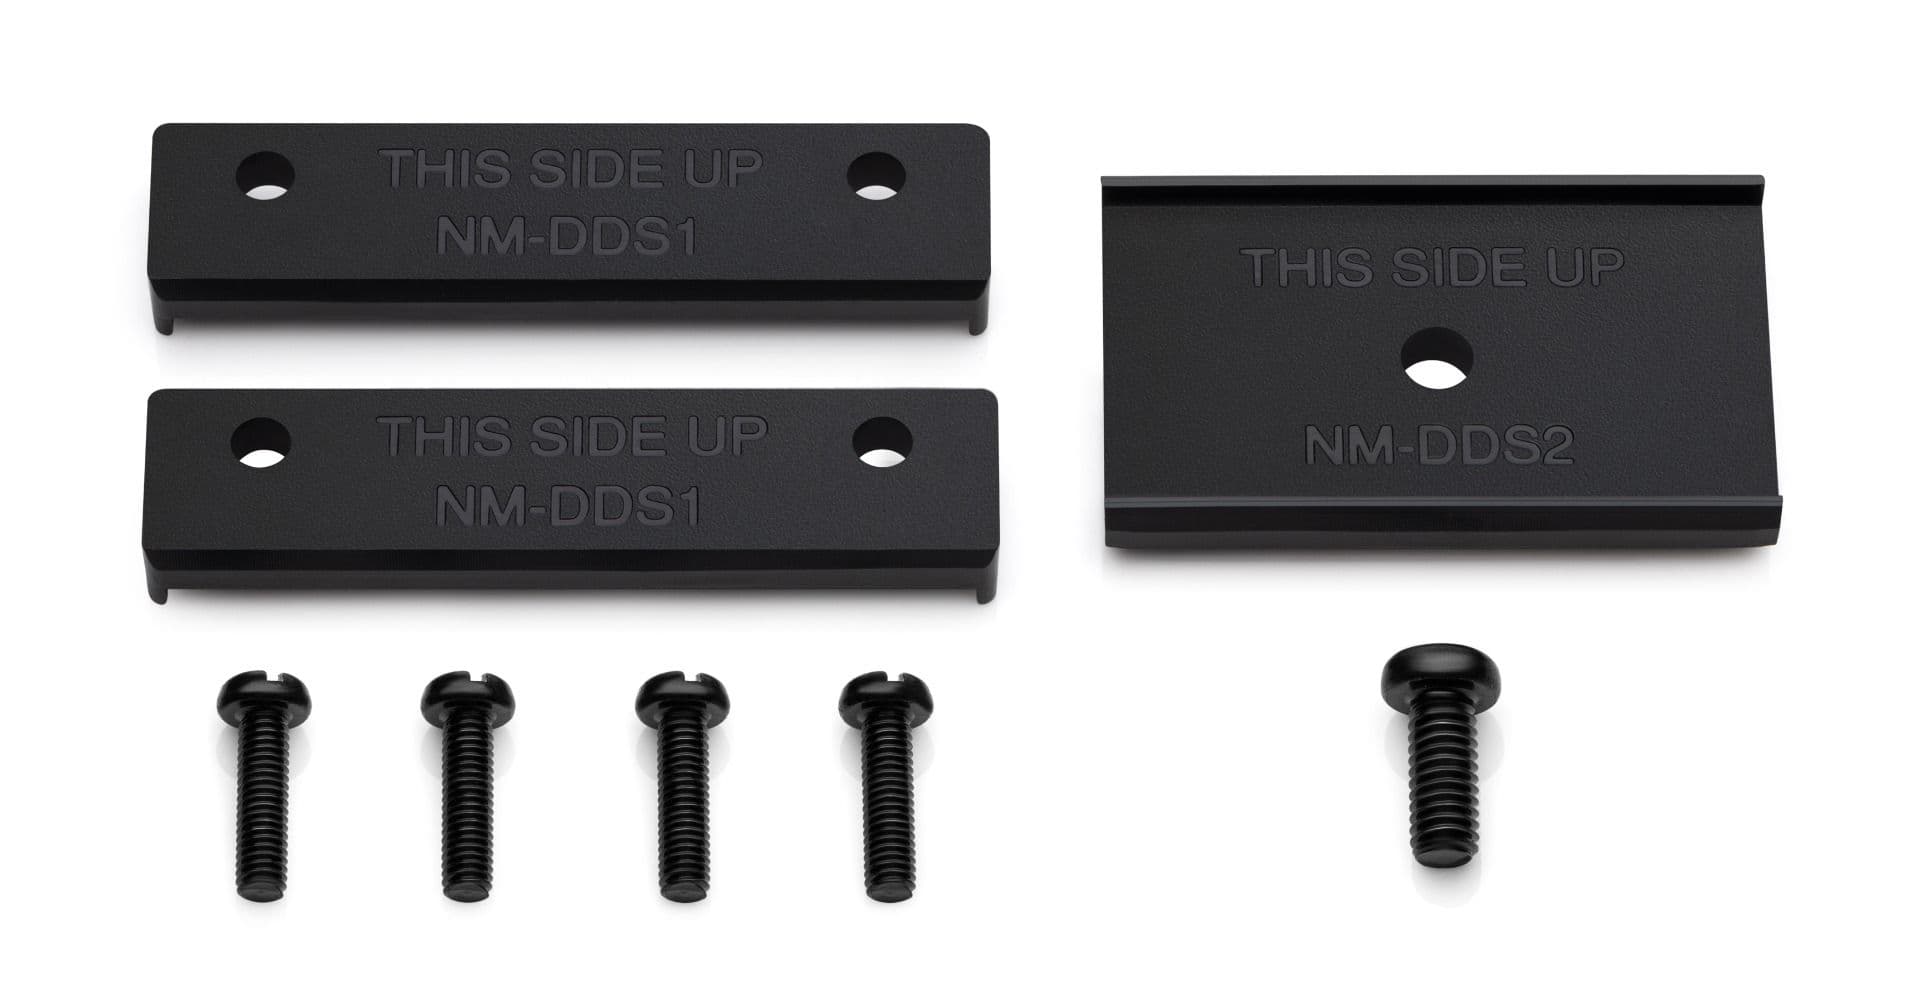
Developed in cooperation with professional overclocker and direct die cooling expert Roman “der8auer” Hartung, the NM-DD1 is a mounting spacer kit that makes it possible to use a wide range of Noctua CPU coolers (see compatibility list) on delidded AMD AM5 processors. Removing the processor’s integrated heat spreader (delidding) and putting the heatsink directly onto the dies allows for much more efficient thermal transfer and can thereby lower CPU temperatures significantly, with typical gains in the range of 10-15°C. The NM-DD1 contains spacers that are put underneath the heasink’s fastening bracket(s) in order to make up for the height of the removed heat spreader as well as custom, longer screws that make it possible to reinstall the fastening brackets with the spacers in place. All other parts that are required for delidding and direct die cooling (delidding tool, direct die frame for protecting the CPU, liquid metal thermal compound, see step-by-step guide) must be purchased separately.
The NM-DD1 can be ordered exclusively via this form for a service charge of EUR 4.90. Alternatively, customers can 3D-print the spacers contained in the NM-DD1 kit at home using the STL files shared at Printables.com (NM-DDS1 spacers for coolers with two-piece fastening brackets and 83mm mounting-pitch, NM-DDS2 spacers for coolers with a single-piece fastening bracket and 78mm mounting pitch). Installing the fastening bracket(s) with the printed spacers will require four M3x12 screws (for NM-DDS1) or a single M4x10 screw (for NM-DDS2).
Caution:
Direct die cooling is done at your own risk! While high-quality delidding tools and direct die frames like those from der8auer have been thoughtfully engineered to minimise the risk of damaging the CPU or other hardware components, direct die cooling will always bear a certain risk of damaging components e.g. due to cracked edges on the bare CPU dies or short circuits from liquid metal compound. Delidding will also void the processors’ warranty. Therefore, using the NM-DD1 is strictly at the customer’s own risk and Noctua cannot be held responsible for any damage that may occur to CPUs or other hardware components when removing the heat spreader and using direct die cooling.
Due to the removed IHS, the cooler will sit 3.7mm lower than before. Please make sure that you have sufficient clearance (>3.7mm) underneath the heatpipes and cooler fins before going for direct die cooling. In particular, watch out for high motherboard heatsinks and shrouds, and if the heatsink fins overhang the RAM, also make sure that there is sufficient clearance between the fins and the RAM.
/
Details
Improved heat transfer
Removing the CPU’s integrated heat spreader (delidding) and putting the heatsink directly onto the dies using liquid metal thermal compound significantly improves thermal transfer and can typically reduce CPU temperatures by as much as 10-15°C. This increased thermal headroom can either be used to drastically reduce fan speeds and noise levels or, if the CPU allows, to achieve higher turbo boost frequencies.
Precision-made spacers and screws
The NM-DD1 contains precision-made spacers from heat-resistant ABS as well as corresponding screws – everything you will need to put your Noctua cooler lower to make up for the height for the removed integrated heat spreader. Delidding tools, CPU protection frames and liquid metal thermal compound must be purchased separately (see step-by-step guide).
Ideal in combination with offset mounting bars
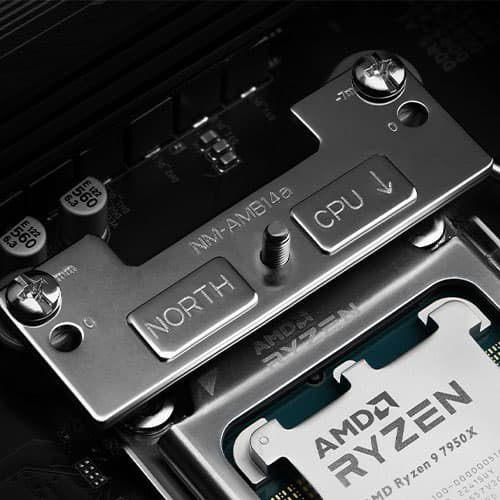
Noctua’s offset AM5 mounting bars (NM-AMB12, NM-AMB13, NM-AMB14, NM-AMB15) allow users to achieve lower temperatures not only on regular AM5 CPUs, but also on delidded ones as the pressure will be more concentrated over the CCDs. Typically, using the offset mounting option with direct die cooling can yield additional gains of up to 2°C.
3D-print at home option
Customers can easily 3D-print the spacers contained in the NM-DD1 kit at home using the STL files shared at Printables.com (NM-DDS1 spacers for coolers with two-piece fastening brackets and 83mm mounting-pitch, NM-DDS2 spacers for coolers with single-piece fastening brackets and 78mm mounting pitch; use ABS and high infill percentage for optimal sturdiness and resistance to heat). Installing the fastening bracket(s) with the printed spacers will require four M3x12 screws (for NM-DDS1) or a single M4x10 screw (for NM-DDS2).
Step-by-step guide
Direct die cooling is inherently more complex and demanding than just putting a cooler onto a CPU and it does bear certain risks of damaging components. However, the performance benefits are significant and it’s not as challenging as many people think, so we have put together a simple step-by-step guide that will walk you through the process.
Your opinion matters!
We are excited to invite you to participate in our short website survey. It will only take 5 minutes of your time!