

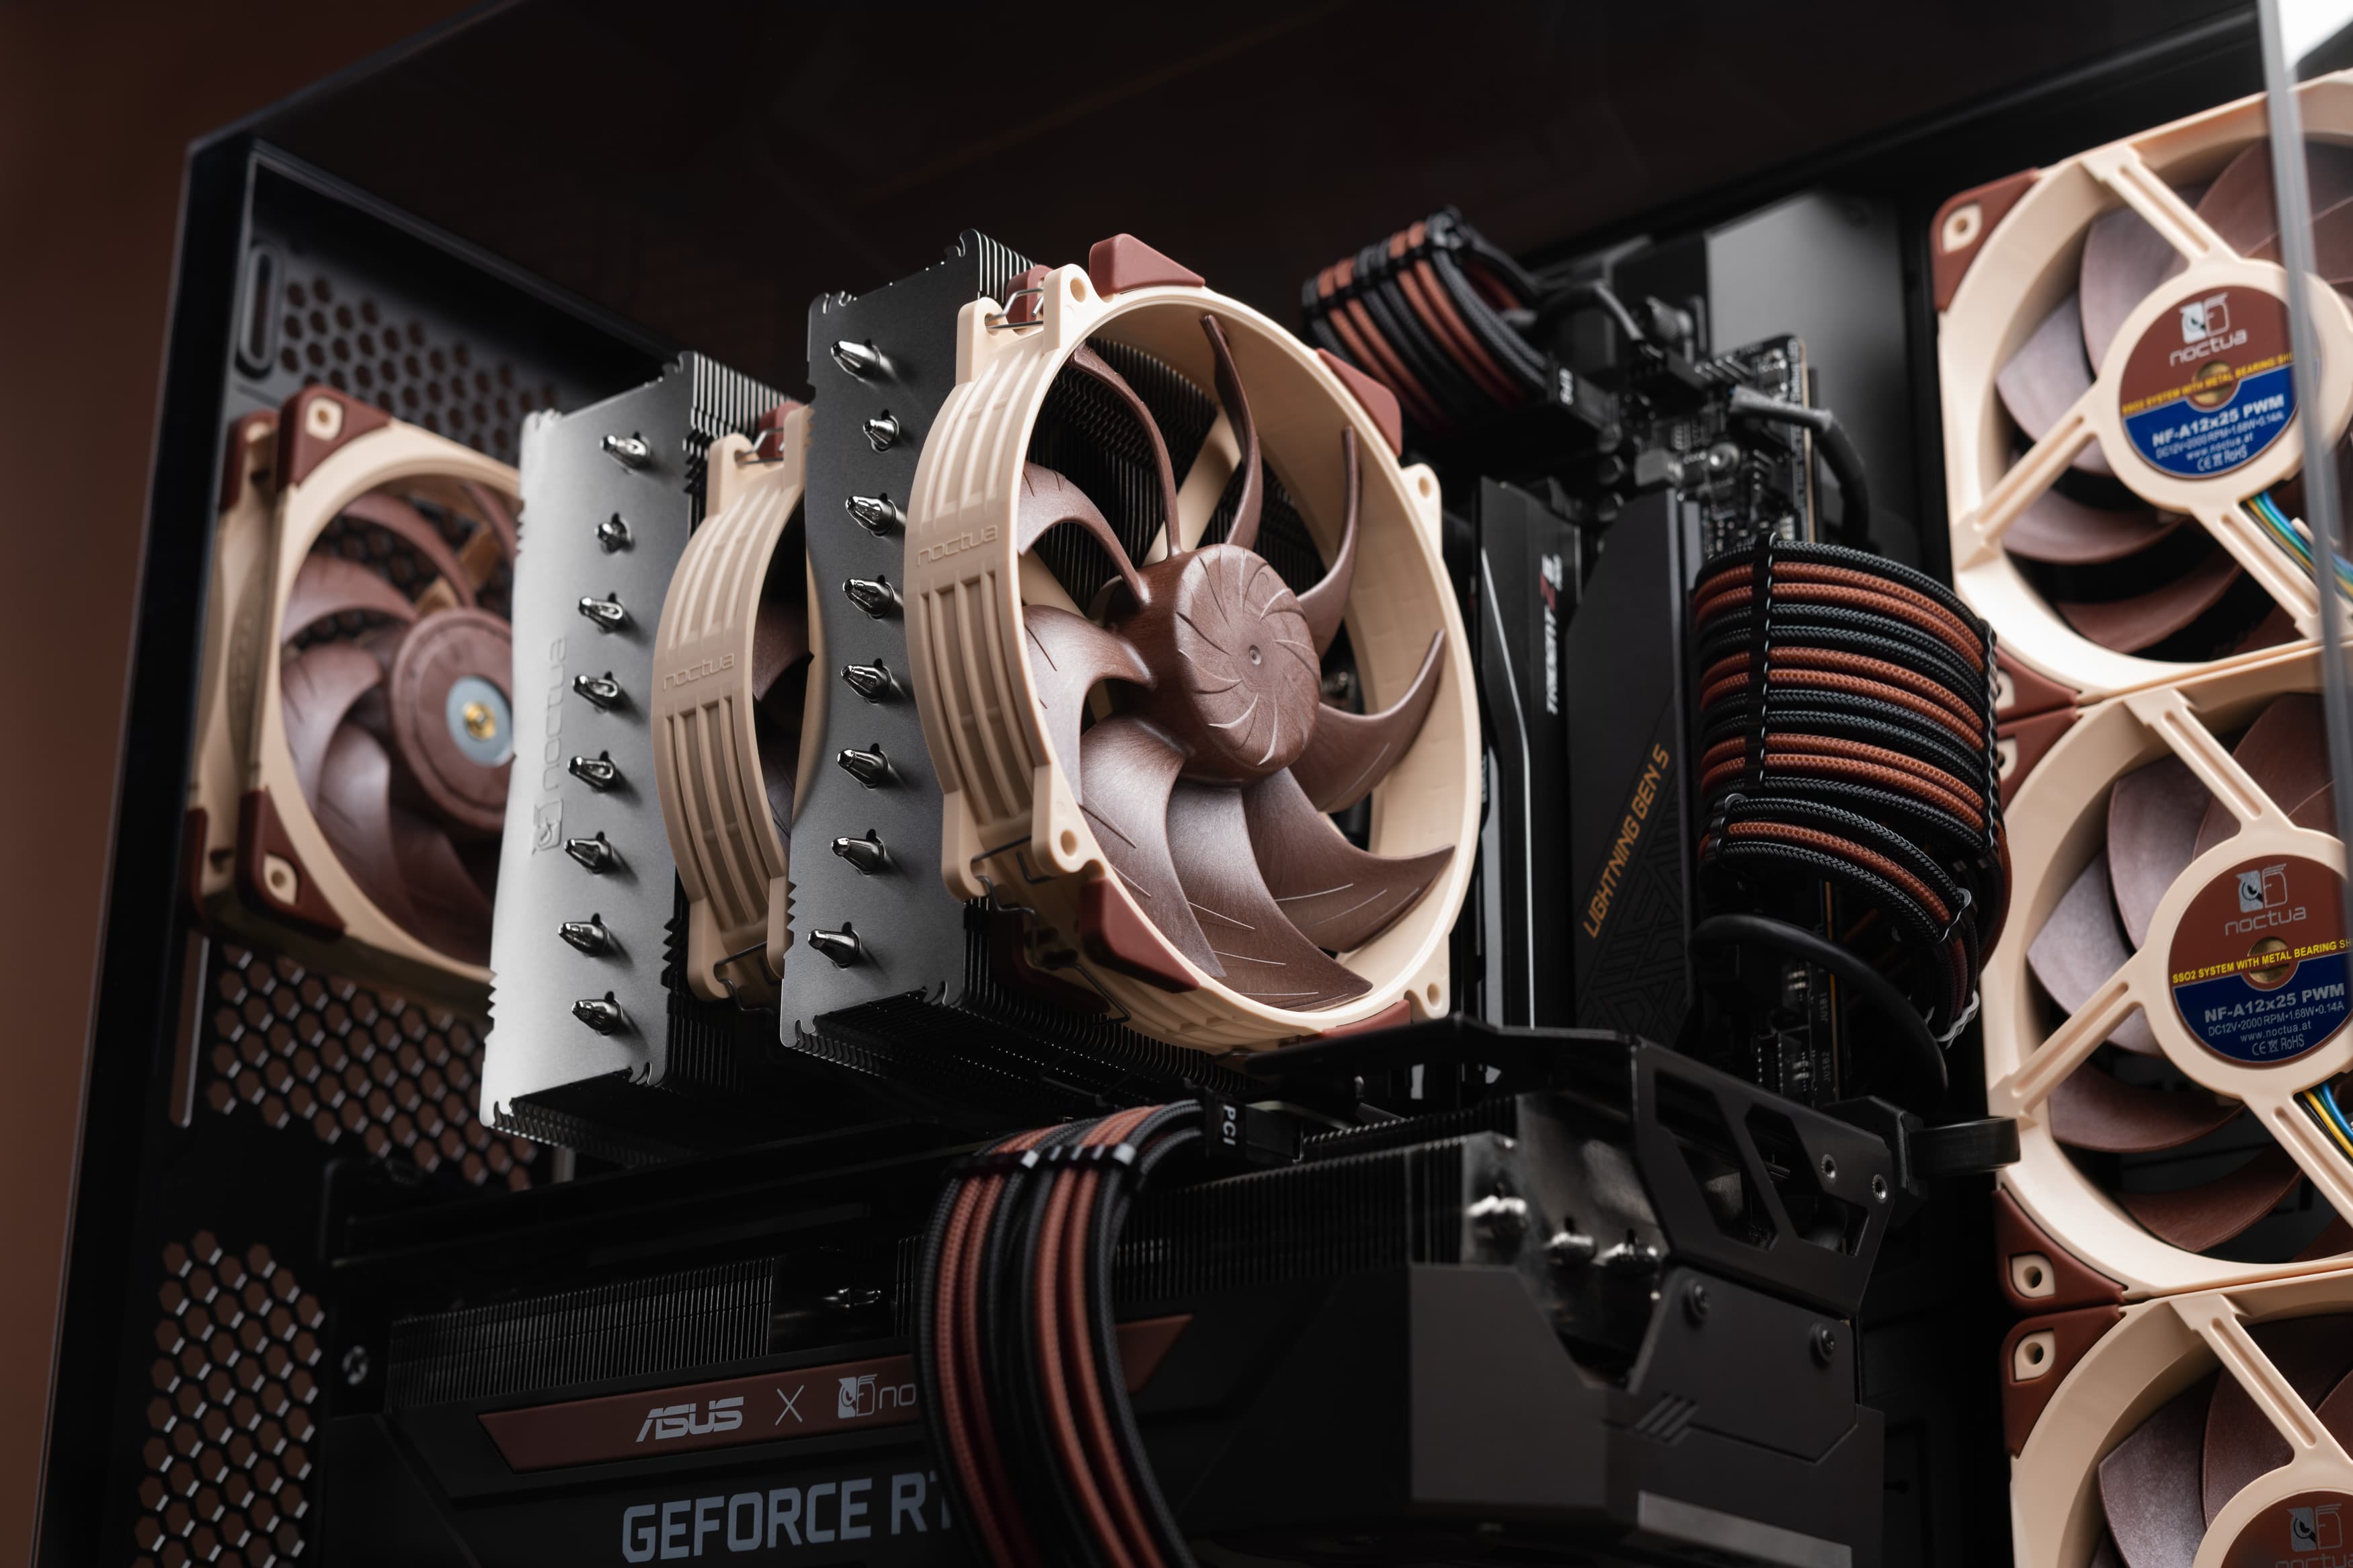

NH-P1 setup guidelines: how to build a passively cooled PC
Things to consider before building a passive system:
- Building a passively cooled system is not as straightforward as building a regular system. For optimal results, components must be selected more carefully, and certain principles should be respected. While the following recommendations and our building guide video provide a good guideline to follow, we invite users to experiment in finding their own preferred components, tweaks and optimisations.
- High CPU temperatures are inevitable: in order to passively cool CPUs that put out 80W or more, they have to be allowed to run at or very near their thermal limits (90/95°C for current AMD Ryzen, 100/115°C for current Intel CPUs). Modern CPUs throttle automatically to prevent overheating, so doing this is perfectly fine, fully compliant with the manufacturer’s specifications and there is no risk of damaging the CPU. If you want to make the most of your passive setup, you should not mind your CPU running at its thermal limit under full load conditions.
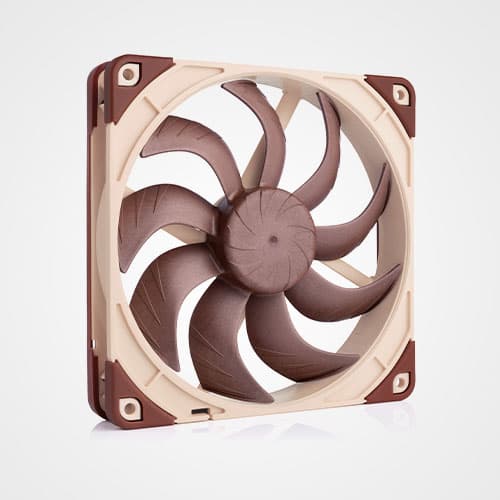
- Fanless vs. semi-passive: Consider adding an extra fan to the case or to the cooler. For example, the NF-A12x25 LS-PWM is nearly inaudible but will significantly boost the performance headroom of the cooler. As the fan stops at 0% PWM, it can easily be set up for semi-passive operation so that it will only spin up when necessary. This way, the system will work fanless most of the time but still give you the flexibility to make better use of more powerful CPUs that require some extra airflow to be cooled adequately under full load conditions.
- Passive cooling works best with mixed, non-continuous workloads that don’t stress the heatsink all the time but give it some time to cool off in between. By contrast, it is less ideal for applications that produce 100% CPU load for longer periods of time such as rendering or video encoding. For example, with many CPUs, the NH-P1 can easily handle intermittent turbo spikes but may struggle with continuous loads at comparably low frequencies.
- Bear in mind that the entire chassis will get noticeably warm when stressing passive setups.
Case selection:
Choose a case with good natural convection such as those on our list of recommended cases. Alternatively, the cooler can be used on a benchtable or other open setups as well as in cases with fans (for example, one or two near-silent NF-A12x25 ULN or NF-A12x25 LS-PWM case fans can be sufficient to significantly improve performance if natural convection is not enough). All the cases we recommend for passive use have been tested thoroughly and work well for fully passive or semi-passive builds. The key selection criteria are as follows:
- Open, unrestricted airflow path from the bottom to the top of the case.
- Air can enter from underneath, e.g. due to high feet, offset design, etc.
- Sufficient space above the cooler so that hot air can exhaust towards the top.
- Air can exit at the top of the chassis, e.g. through ventilation holes, grills, etc.
- Mid to high internal air volume (compact cases are usually less suited).
- No noise insulation panels.
CPU selection:
Please refer to our CPU compatibility list to choose a CPU that is suitable for use with the NH-P1 (green checkmark). In the list, we indicate how well you can expect the NH-P1 to work with a particular CPU both completely fanless and in semi-passive mode using the NF-A12x25 LS-PWM fan. Note that these indications are based on fully optimised systems following our guidelines and that results will be worse if the setup is not optimal. Also note that it is possible to use CPUs that are referenced to be compatible with restrictions (blue x mark), but keep in mind that these may fall below base-clock under full continuous load even in fully optimised systems. However, they may still work very well for mixed load usage or semi-passive builds. For the latter, please refer to the performance indication with NF-A12x25 LS-PWM fan to see if good results can be expected (green checkmark or green checkmark with turbo/overclocking headroom). Note that all our CPU recommendations are based on an ambient temperature of 22°C and will inevitably be worse at higher ambient temperatures.
Motherboard selection:
- VRM cooling: Choose a higher-end motherboard which features a capable VRM design and good VRM cooling (heatsinks, potentially a cooling backplate). As there will be no airflow from the CPU cooler, lower-end motherboards without capable heatsinks on the VRM can cause problems (i.e., the VRMs may overheat and run into thermal throttling even though the CPU is still operating at reasonable temperatures).
- Avoid tightly packed ITX or Micro-ATX motherboards, use ATX size boards whenever possible.
- If you would like to use a dedicated GPU, select a motherboard that has as much space as possible between the CPU and the top PCIe x16 slot, or, preferably, one where the second slot is connected to the CPU with at least x8 bandwidth.. This will enable you to install the card in the lower slot so that it doesn’t block natural convection as much.
Graphics card:
- If you don’t need high GPU performance, using integrated graphics will work best (e.g. Intel CPUs with integrated graphics or AMD APUs) because dedicated graphics cards installed underneath the cooler reduce natural convection and add extra heat.
- Keep in mind that the extra heat output from a dedicated GPU will increase CPU temperatures.
- When selecting a dedicated graphics card model, go for a fully passive (fanless) model if possible. As the case temperatures are much higher with passive builds, actively cooled cards will start their fans much more often than with regular builds, so even if they are often able to run fanless in regular configurations, this may not be the case in a passive build.
- If the case allows, using a vertical GPU mounting bracket can be helpful, especially with higher end cards which are usually rather long and can block airflow inside the chassis.
Power supply:
Go for high quality fanless units whenever possible. While it is also possible to use overspecified semi-passive power supplies (e.g. 850W when 350W are required), this is definitely only recommended in cases with dedicated compartments for the power supply, because due to the higher case temperatures of passive builds, semi-passive power supplies will start their fans much more frequently.
Case and airflow optimisation:
- Aluminium or steel case side panels are more effective at dissipating heat than tempered glass ones. Go with the first for optimal performance.
- Some cases allow to remove top covers (e.g. Cooler Master SL600M), this can be very helpful in order to facilitate natural convection.
- Fan filters: If your case uses fan filters, consider removing them to enhance natural convection.
- Make sure bottom air inlets are not blocked by cables or other components.
- Other components or cables inside the system can reduce natural convection by blocking the airflow, so make sure not to obstruct the airflow.
- Heatsink orientation: For completely fanless or semi-passive builds in tower cases, make sure that the cooler is installed with the heatsink fins aligned vertically so that natural convection can easily pass through. When using case fans, make sure that the heatsink fins are aligned with the airflow inside the case.
- When adding a fan on the cooler for semi-passive setups, keep in mind that the stopped fan will slightly reduce natural convection through the heatsink, which may reduce fully passive performance by 3-5W. Installing the fan as a chassis fan above the cooler often yields similar results when the fan is running but usually doesn’t reduce natural convection through the heatsink if the fan stops, so this setup may be preferable for semi-passive use.
General Considerations:
- Stress testing software such as Prime95 causes unrealistically high heat loads. When using software such as Prime95 for stress testing, keep in mind that even CPU-intensive, real-world applications like rendering tools may not create as much constant heat output, so the NH-P1 will typically be able to achieve higher sustained CPU frequencies using real-world applications.
- Don’t limit the CPU to the maximum heat load that the cooler can handle continuously: modern CPUs use their turbo modes when thermals allow and scale back automatically when they get too hot. This means that as long as there are periods of lower load where the heatsink can cool off a bit, it will be able to sustain short turbo spikes where the CPU puts out more heat than the cooler would be able to dissipate continuously. We recommend letting the CPU scale automatically rather than setting a maximum TDP value in the UEFI BIOS as this will provide superior CPU
Video guide

Mentioned products
Explore the products featured in this article.

NH-P1
Related articles
Want to know more on this topic? Explore relevant articles and resources.

NSPR: Noctua Standardised Performance Rating
Noctua’s Standardised Performance Rating (NSPR) is a platform-independent classification system that allows customers to compare the efficiency of Noctua CPU coolers at a glance.

NH-D15 G2 vs. NH-D15 performance data
With an NSPR (Noctua’s Standardised Performance Rating) score of 228, the NH-D15 G2 sets a new performance benchmark. But how does it compare to it's predecessor?

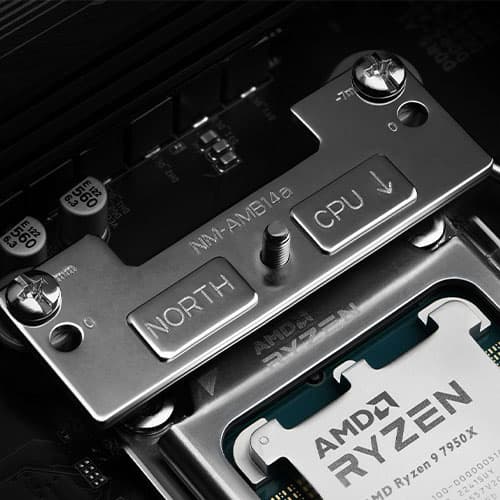
Offset AM5 mounting: technical backgrounds
Noctua’s AM5 offset mounting bars shift heatsinks to the south side of the AM5 socket. But why is this necessary, and how much does it improve cooling performance?

NH-D15 G2 versions: heatsink contact quality optimisation explained
The NH-D15 G2 is available in three different base convexity versions. But what is the benefit of this, and which version is the right choice for your setup?