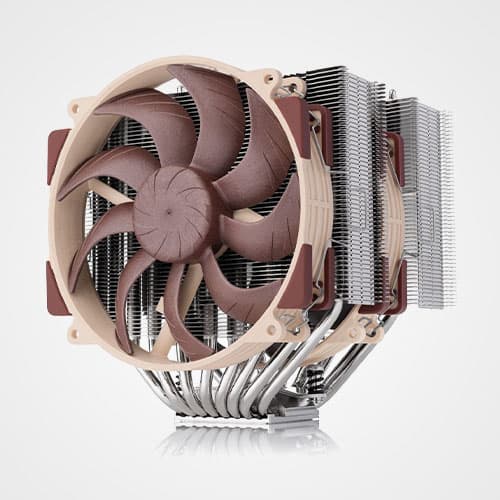

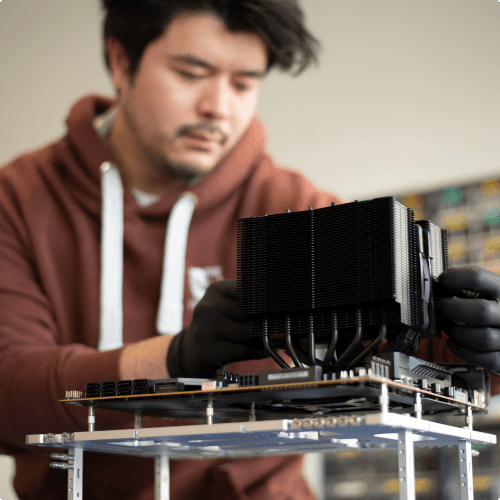

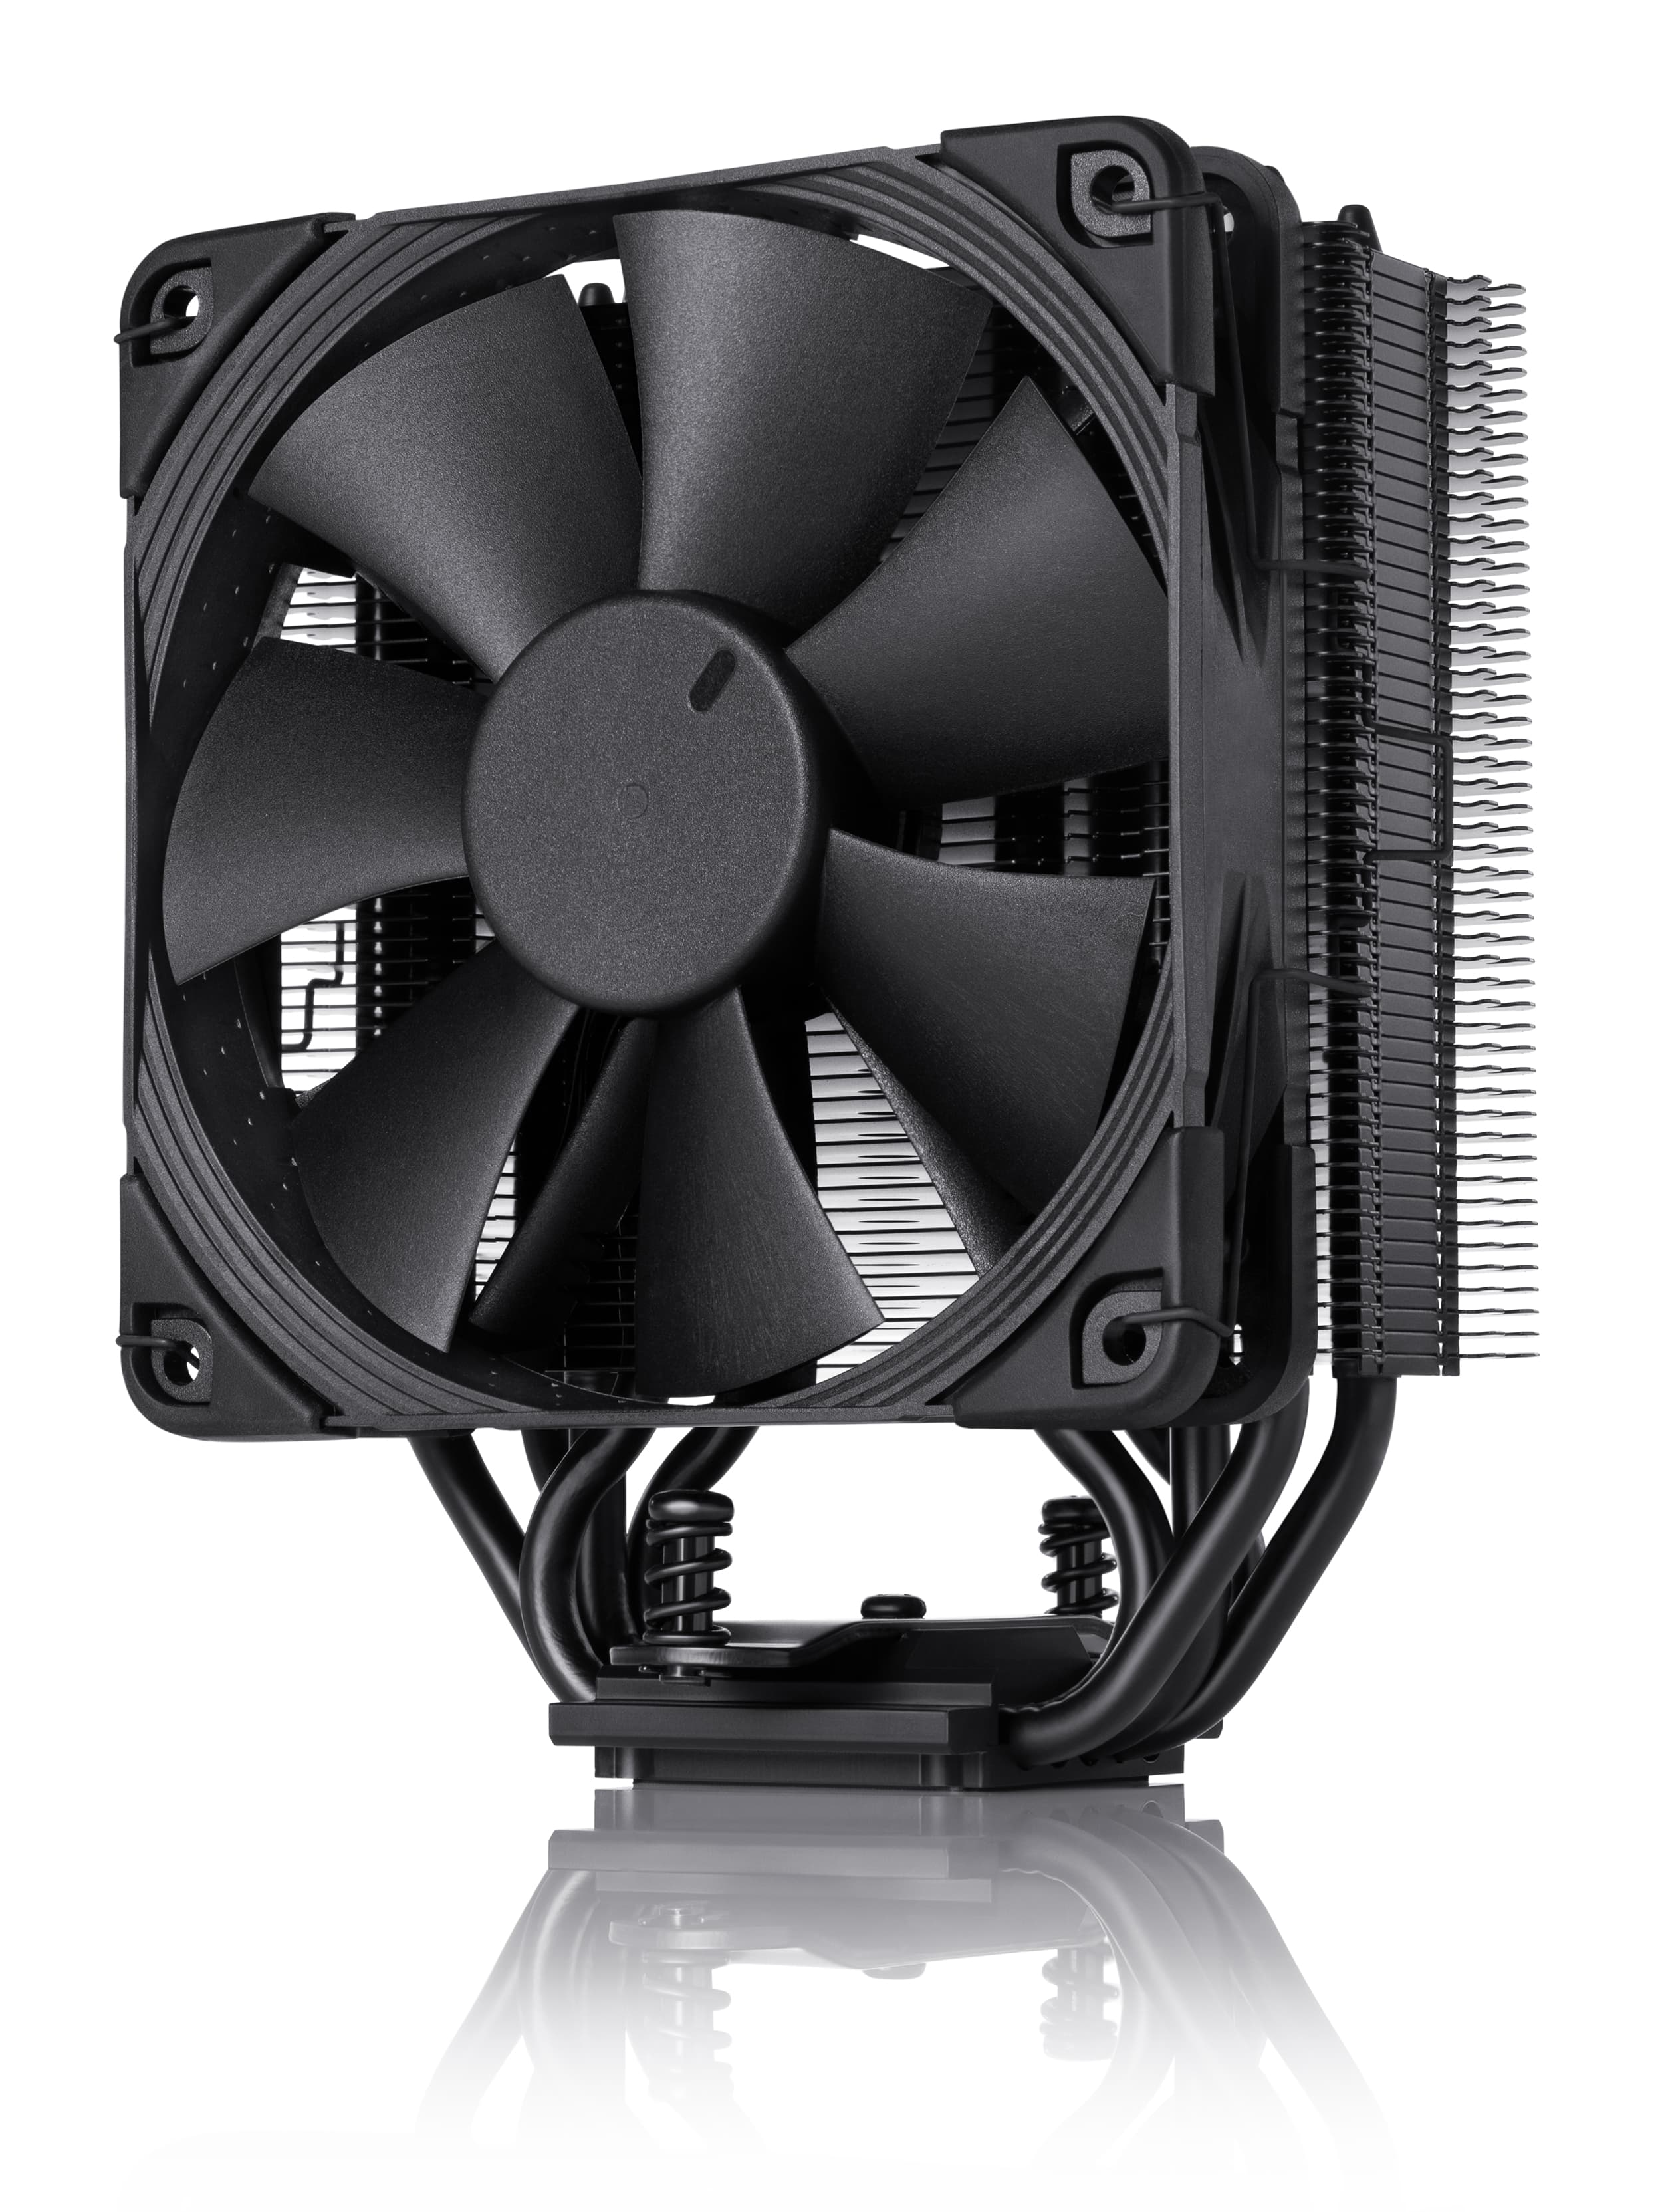
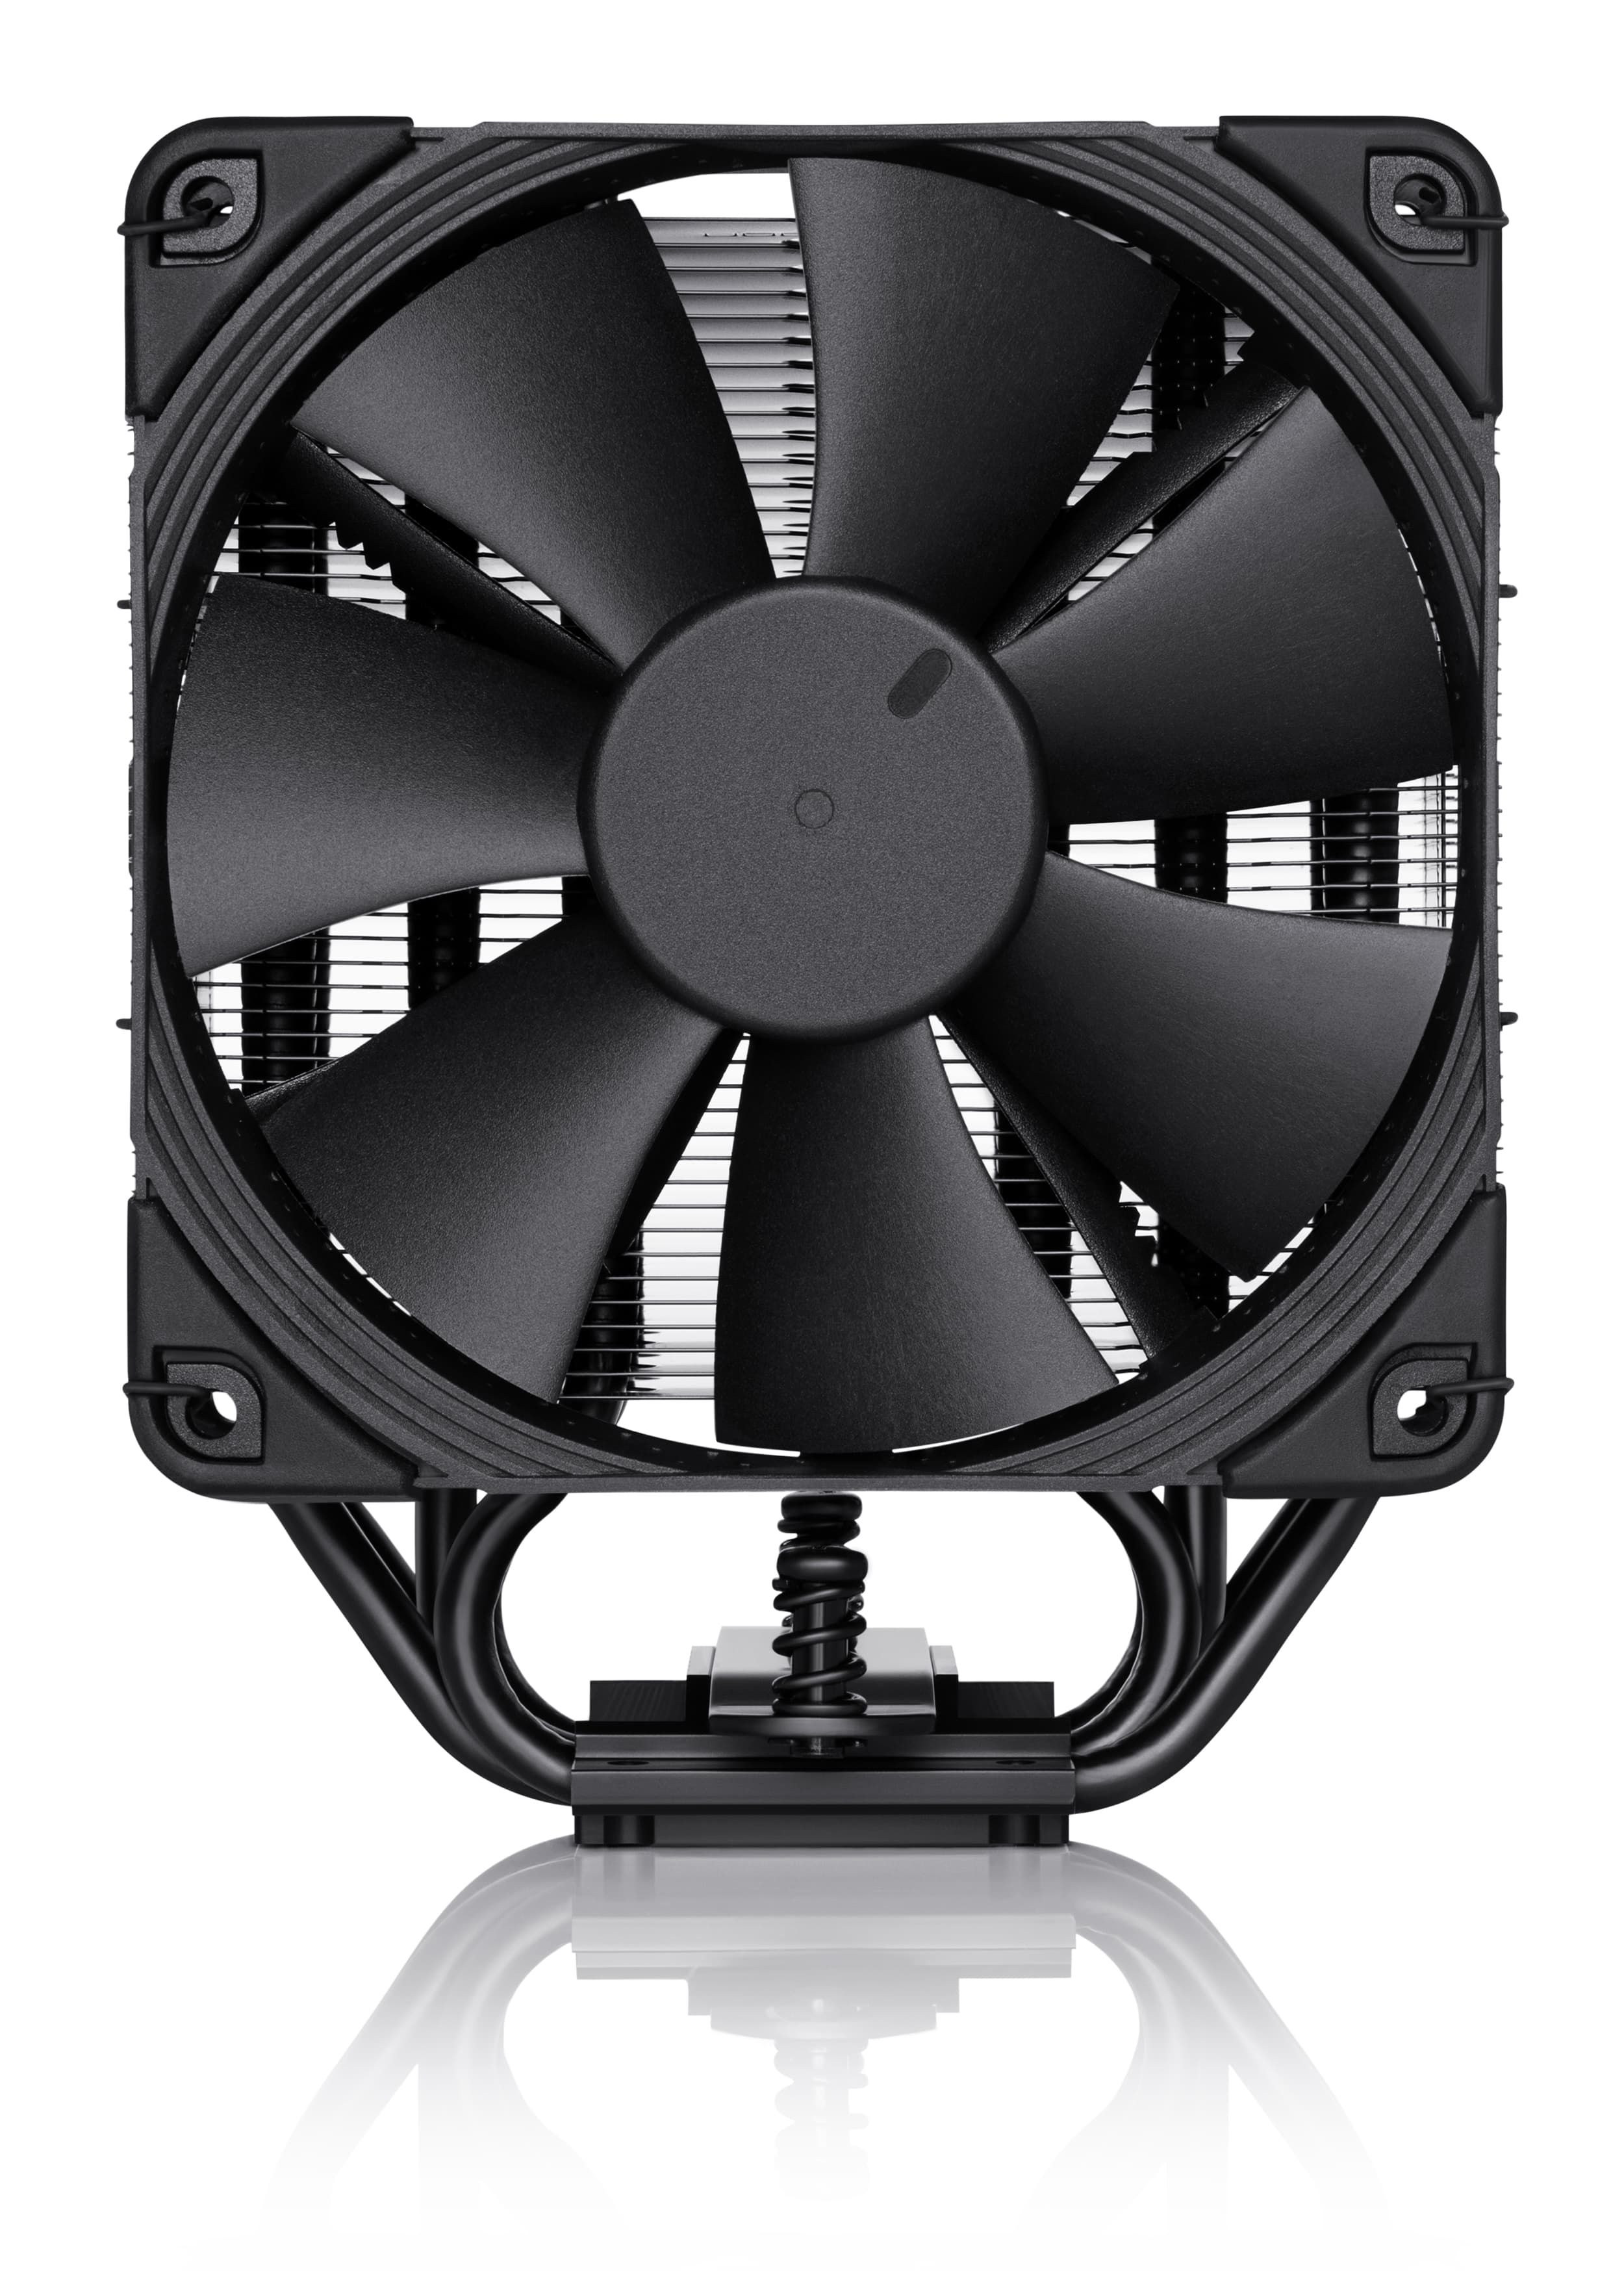


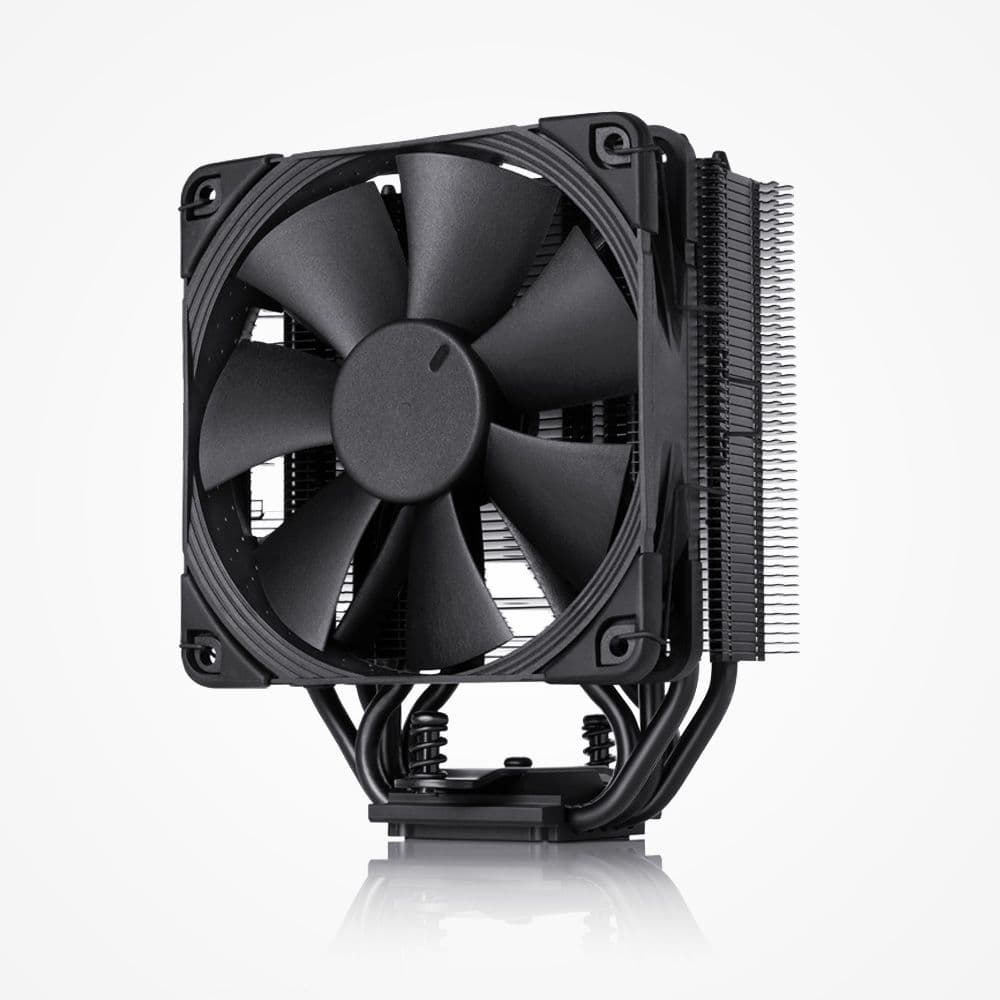
Classic 120mm tower size for excellent overall compatibility
Standing 158mm tall, the NH-U12S is short enough to fit most modern mid- or high-end tower cases. Measuring 125mm wide (including fan and fan clips), the cooler stays clear of the top PCIe slot on most standard ATX or Micro-ATX motherboards, ensuring optimum compatibility with multi-GPU setups.

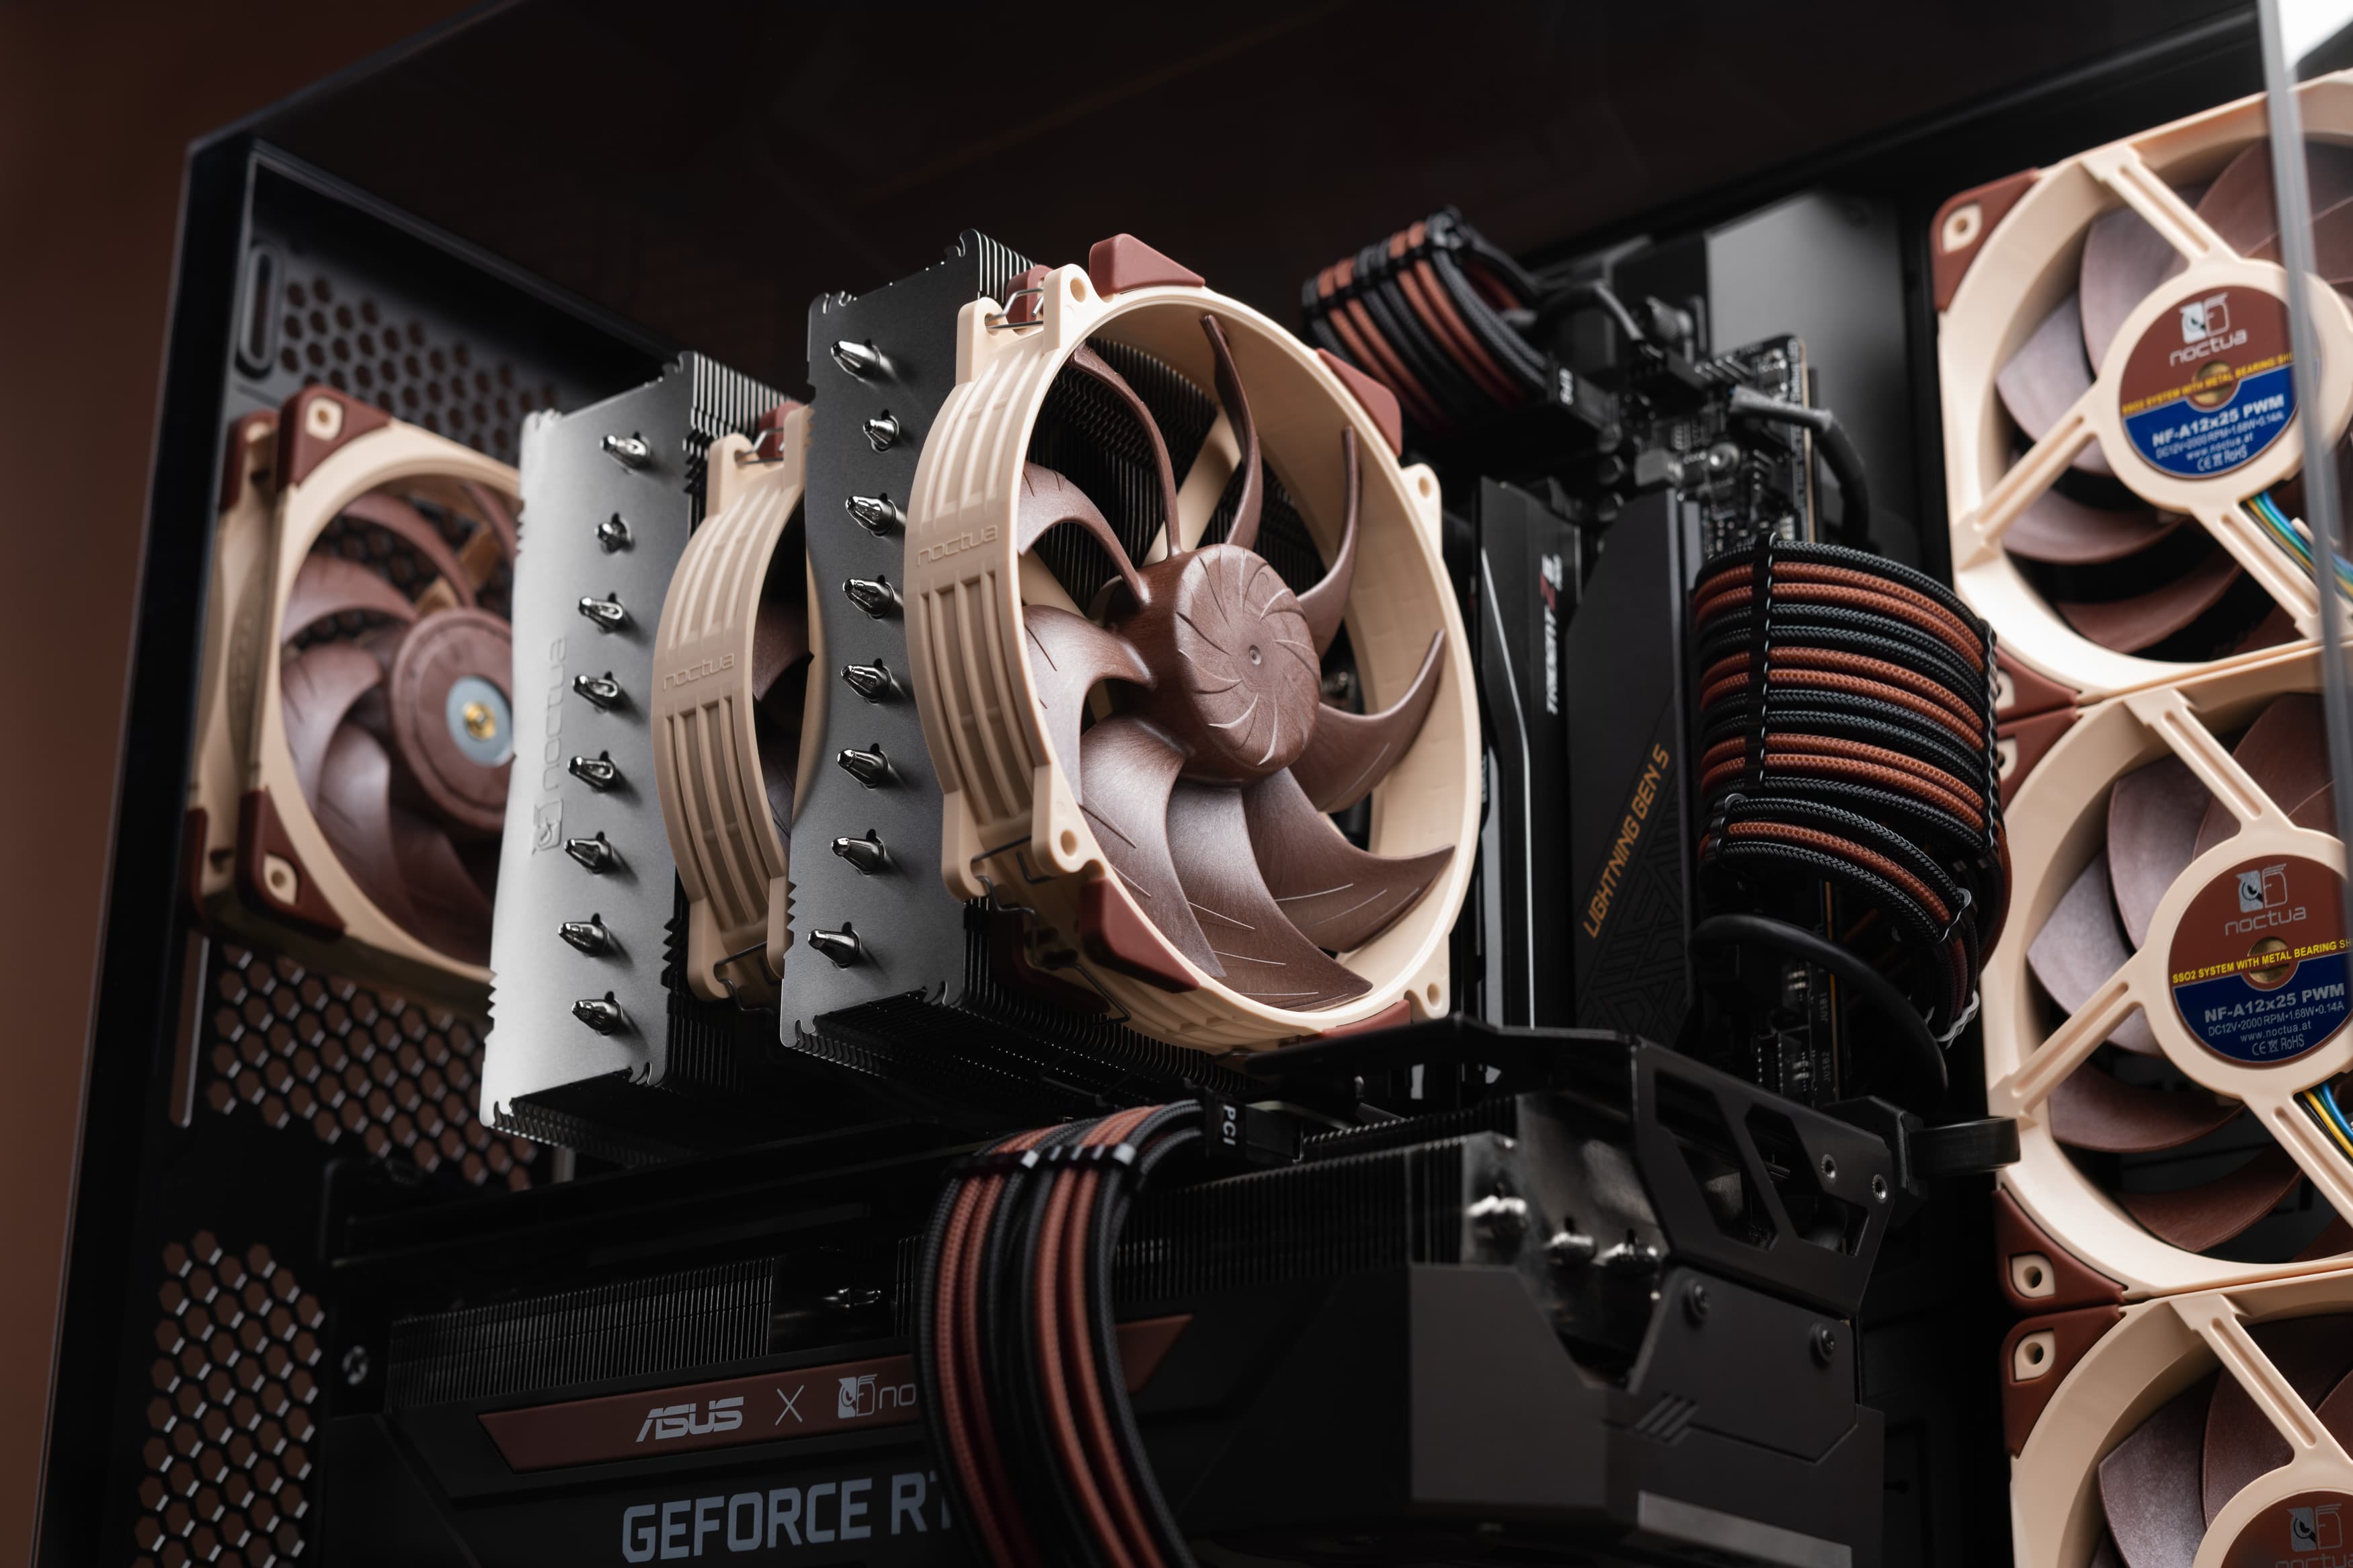
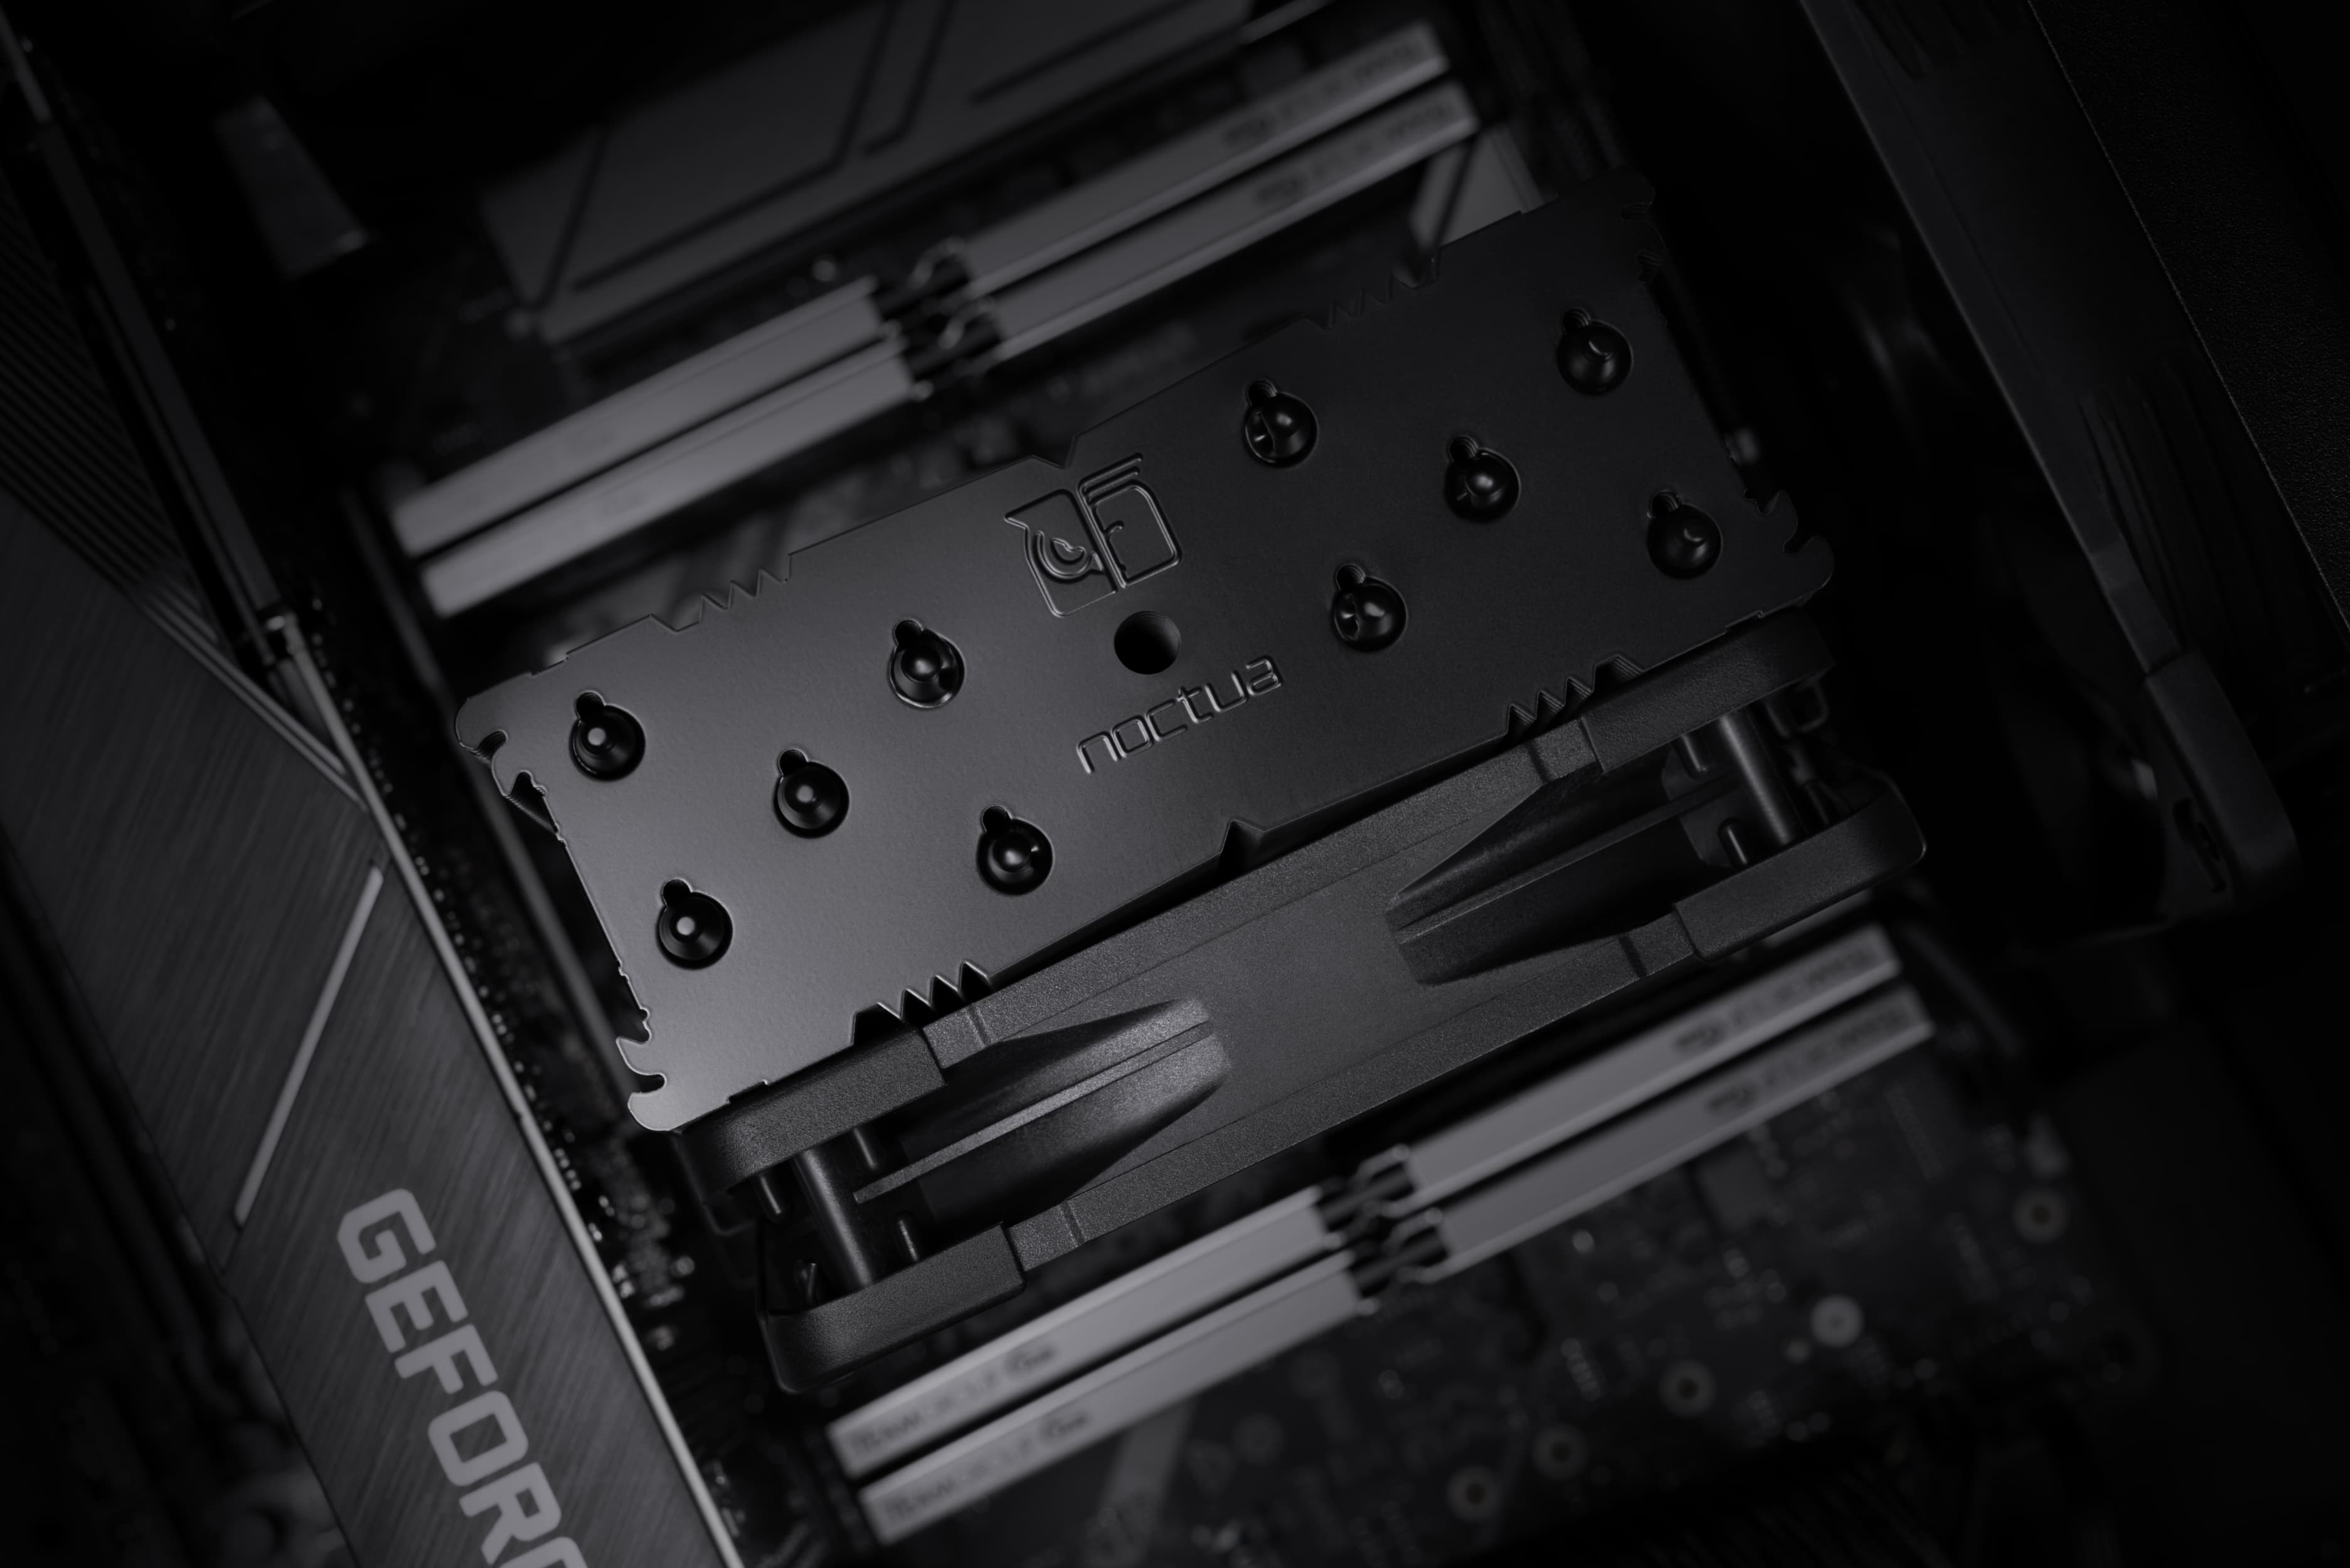
100% RAM compatibility
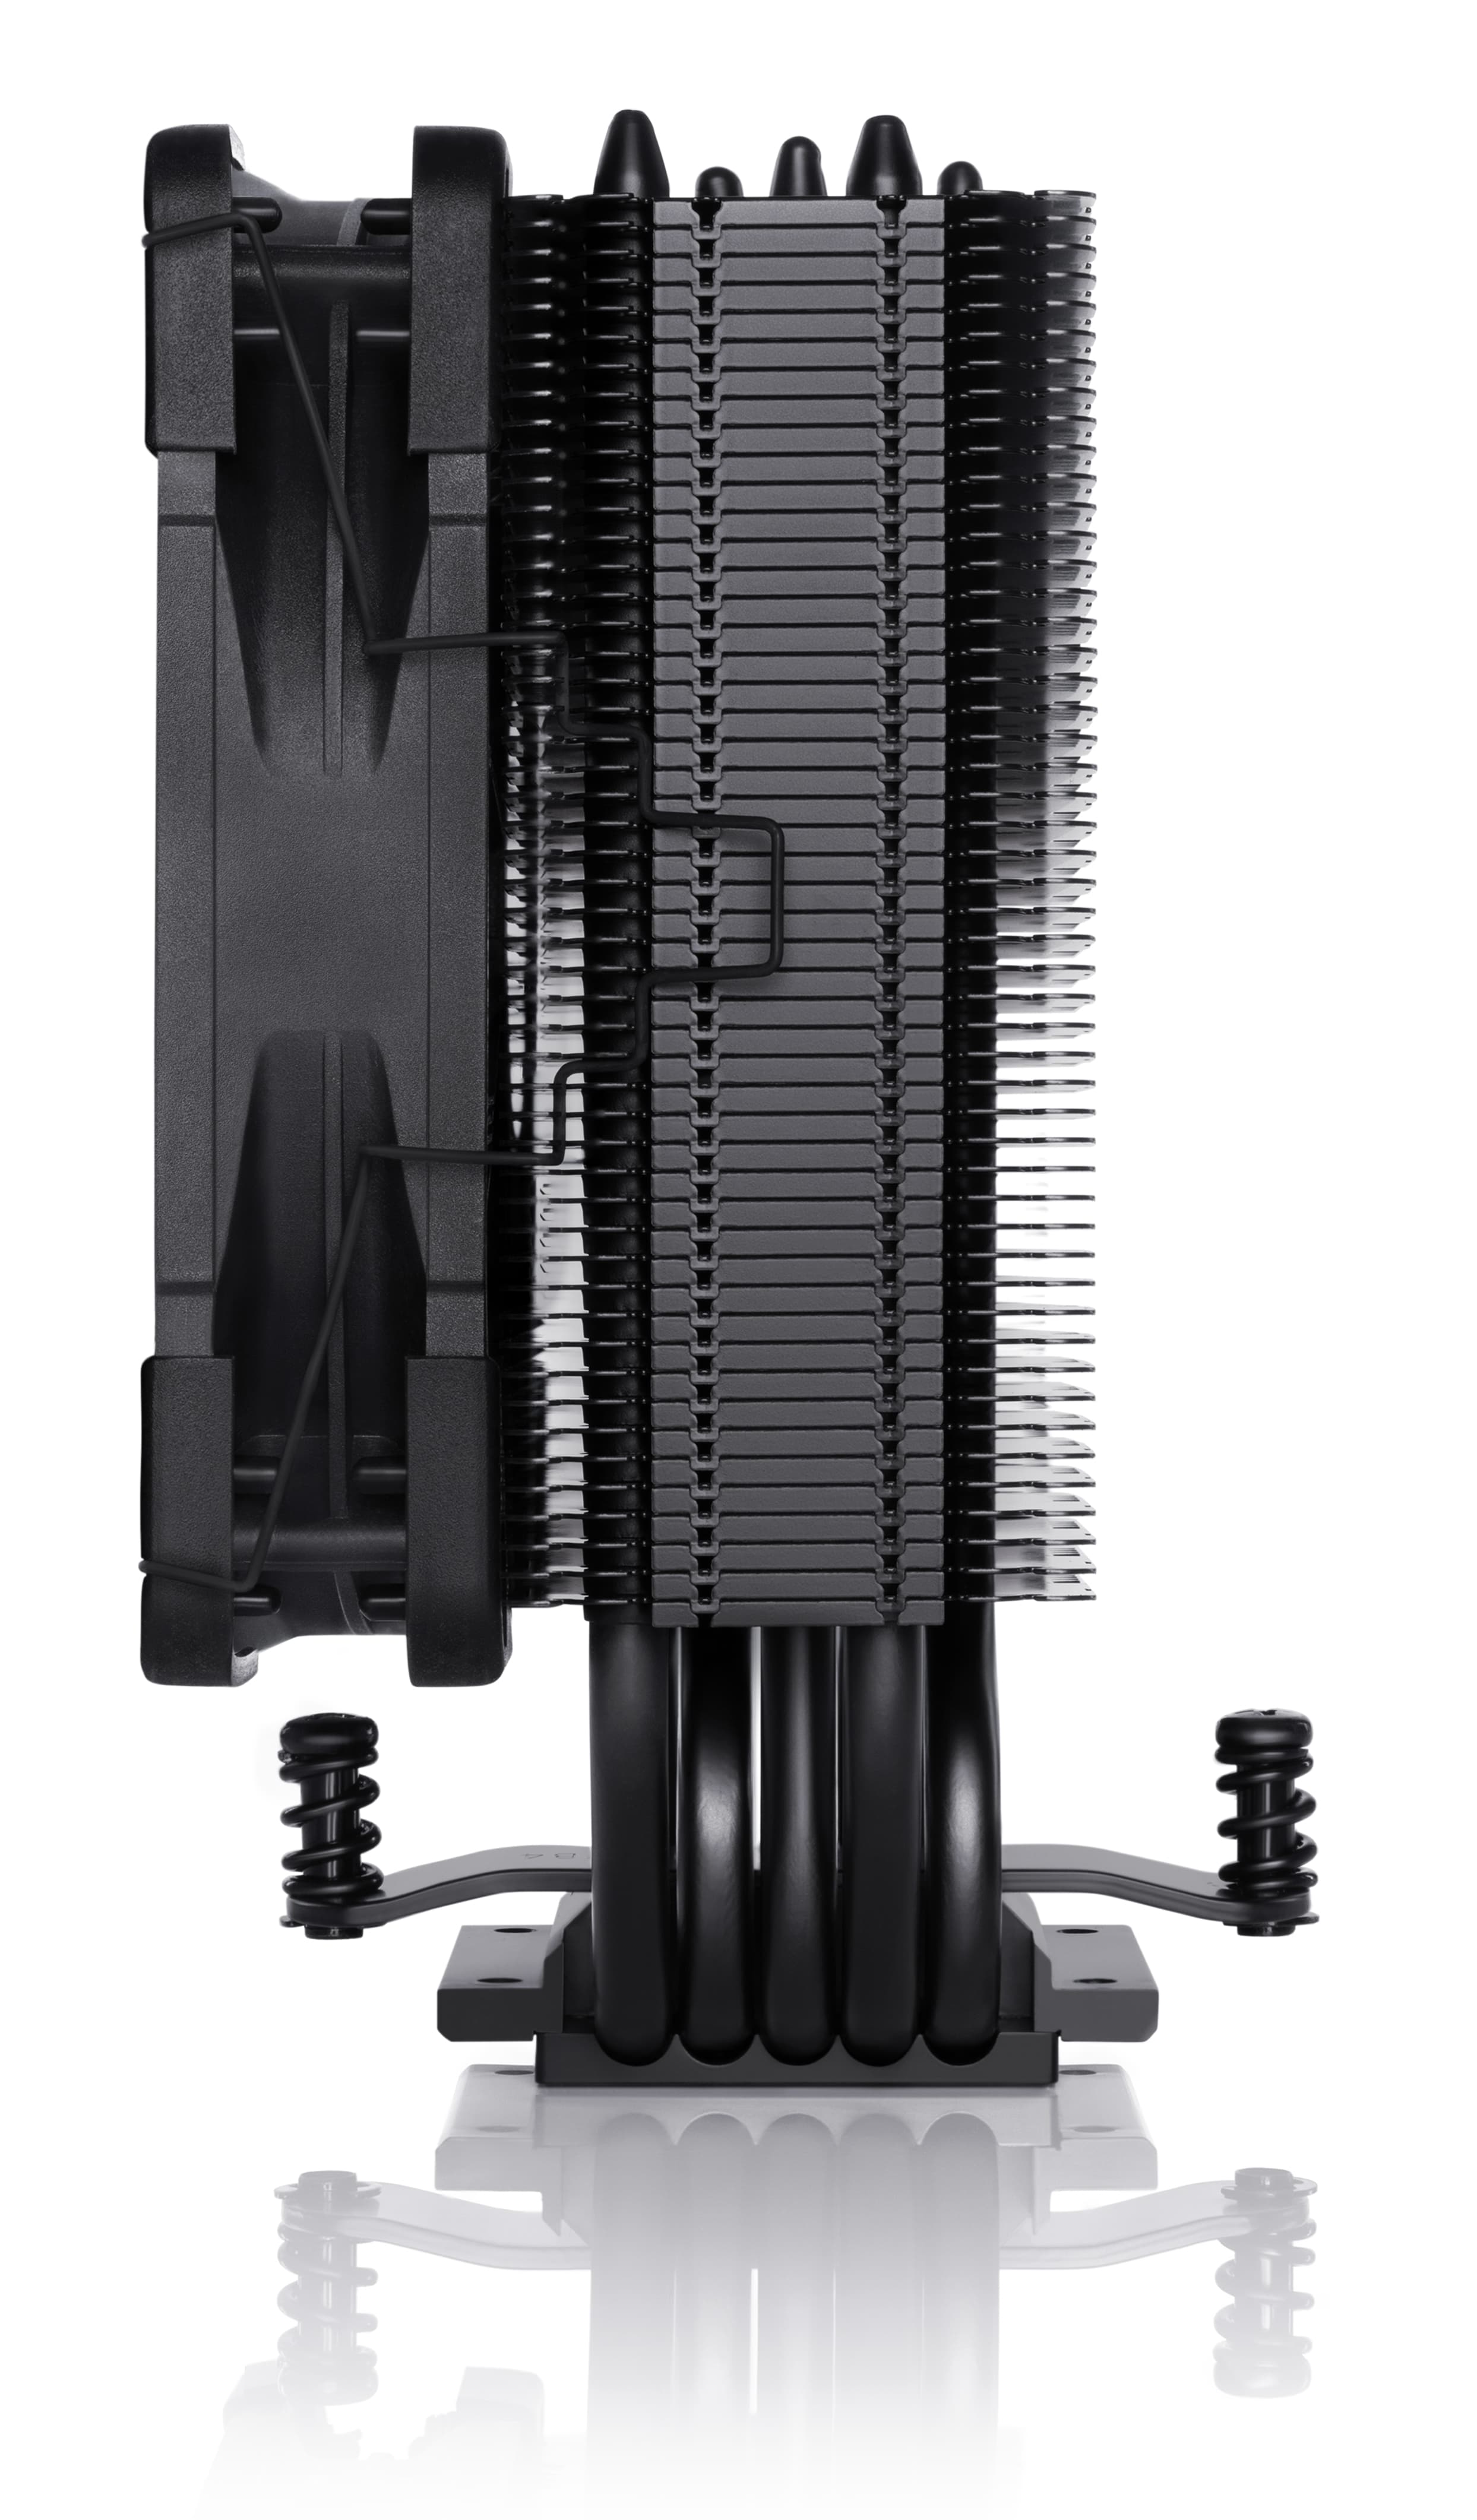
Thanks to its slim design with only 45mm fin depth, the NH-U12S will not overhang the RAM slots even with two fans installed. This gives the user full access to the memory modules on all current CPU sockets and guarantees 100% compatibility with tall heatspreaders or optional memory fans. Please note however that some AMD mainboards violate the 96x114mm keep-out zone specified by AMD, so the NH-U12S can only be used with RAM modules of up to 40mm height on these boards. Please consult our compatibility list for details.
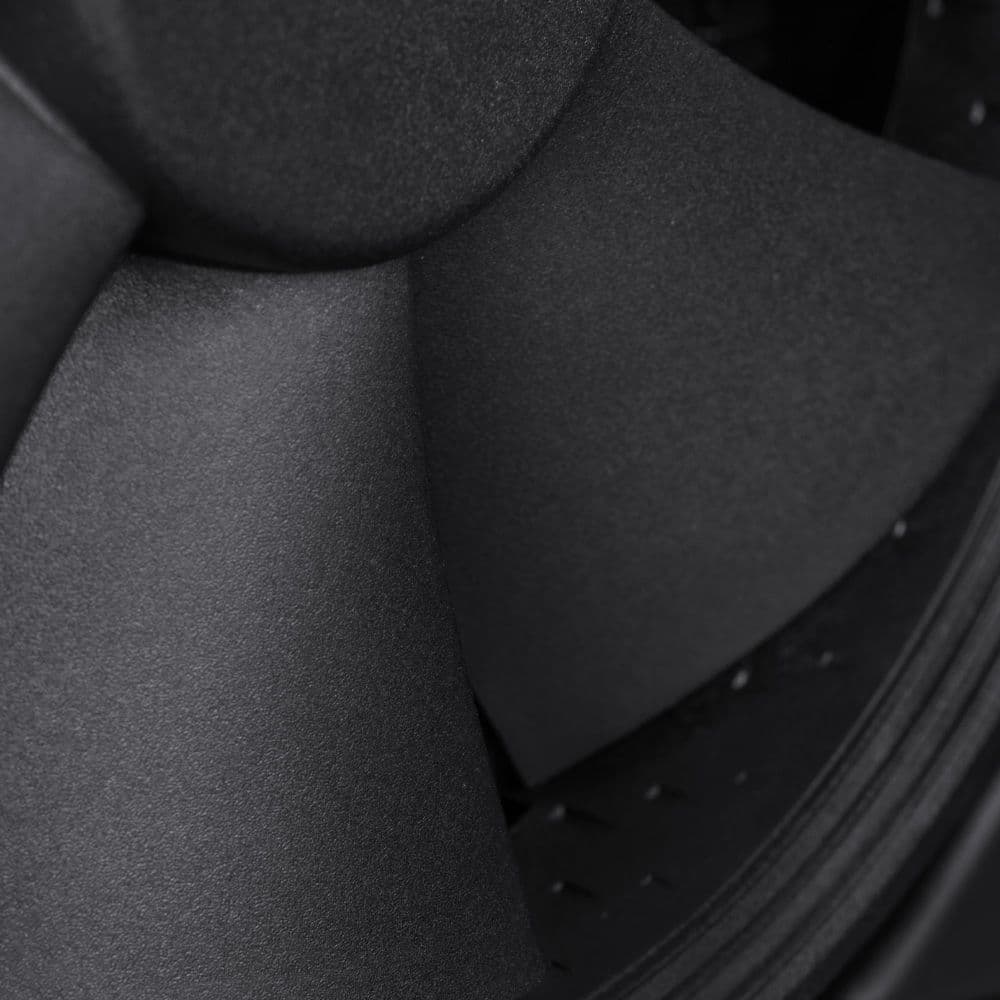
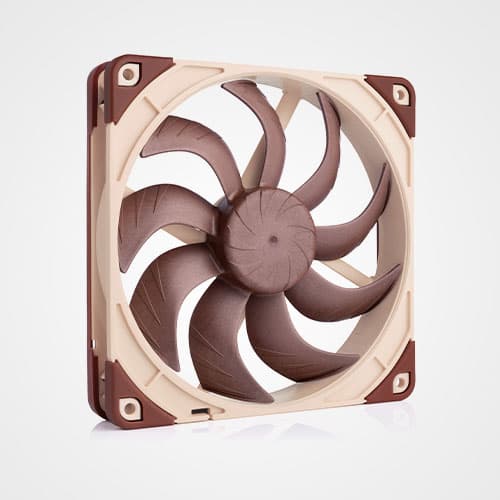
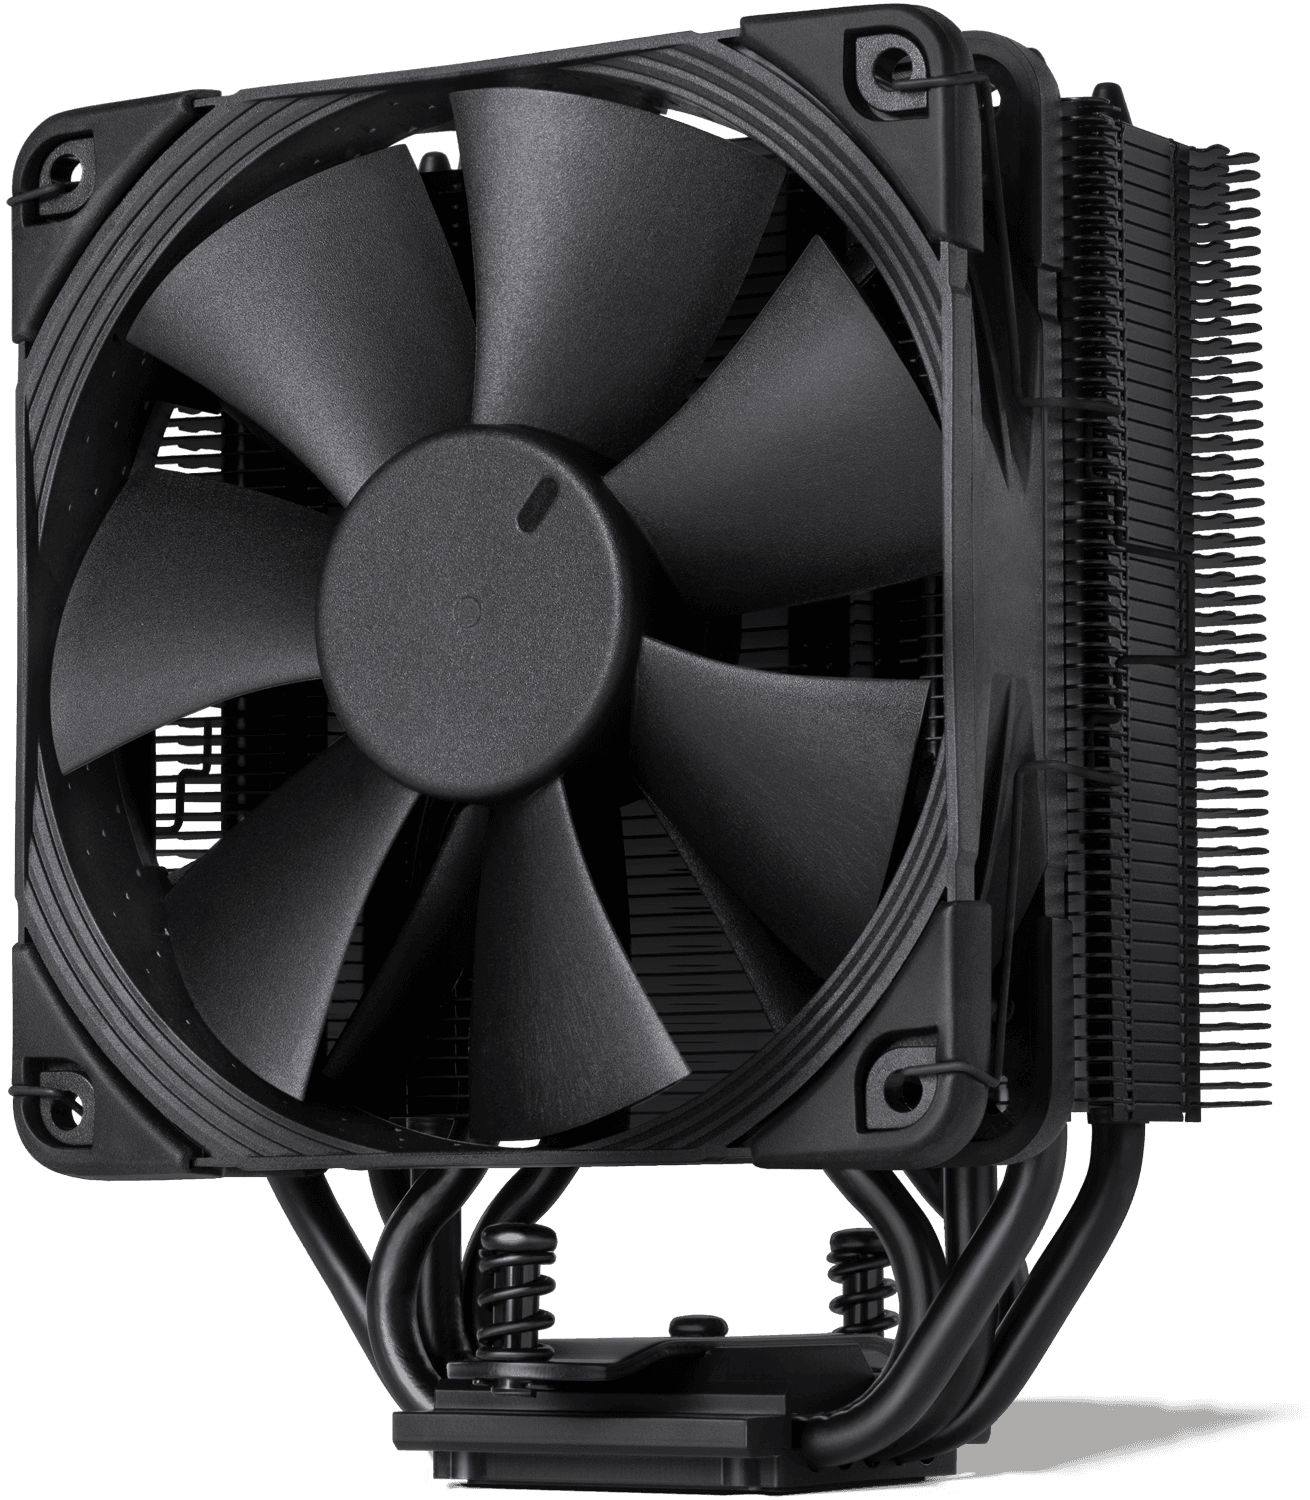
NF-F12 120mm Focused Flow™ fan
Recommended by more than 150 hardware publications and thousands of enthusiasts world-wide, the Noctua's premium quality NF-F12 Focused Flow™ 120mm fan is renowned to combine superb static pressure, excellent heatsink performance and surprising quietness of operation.

Further resources
Want to know more on this topic? Explore relevant articles and resources.

FAQs
All FAQsTrusted by customers
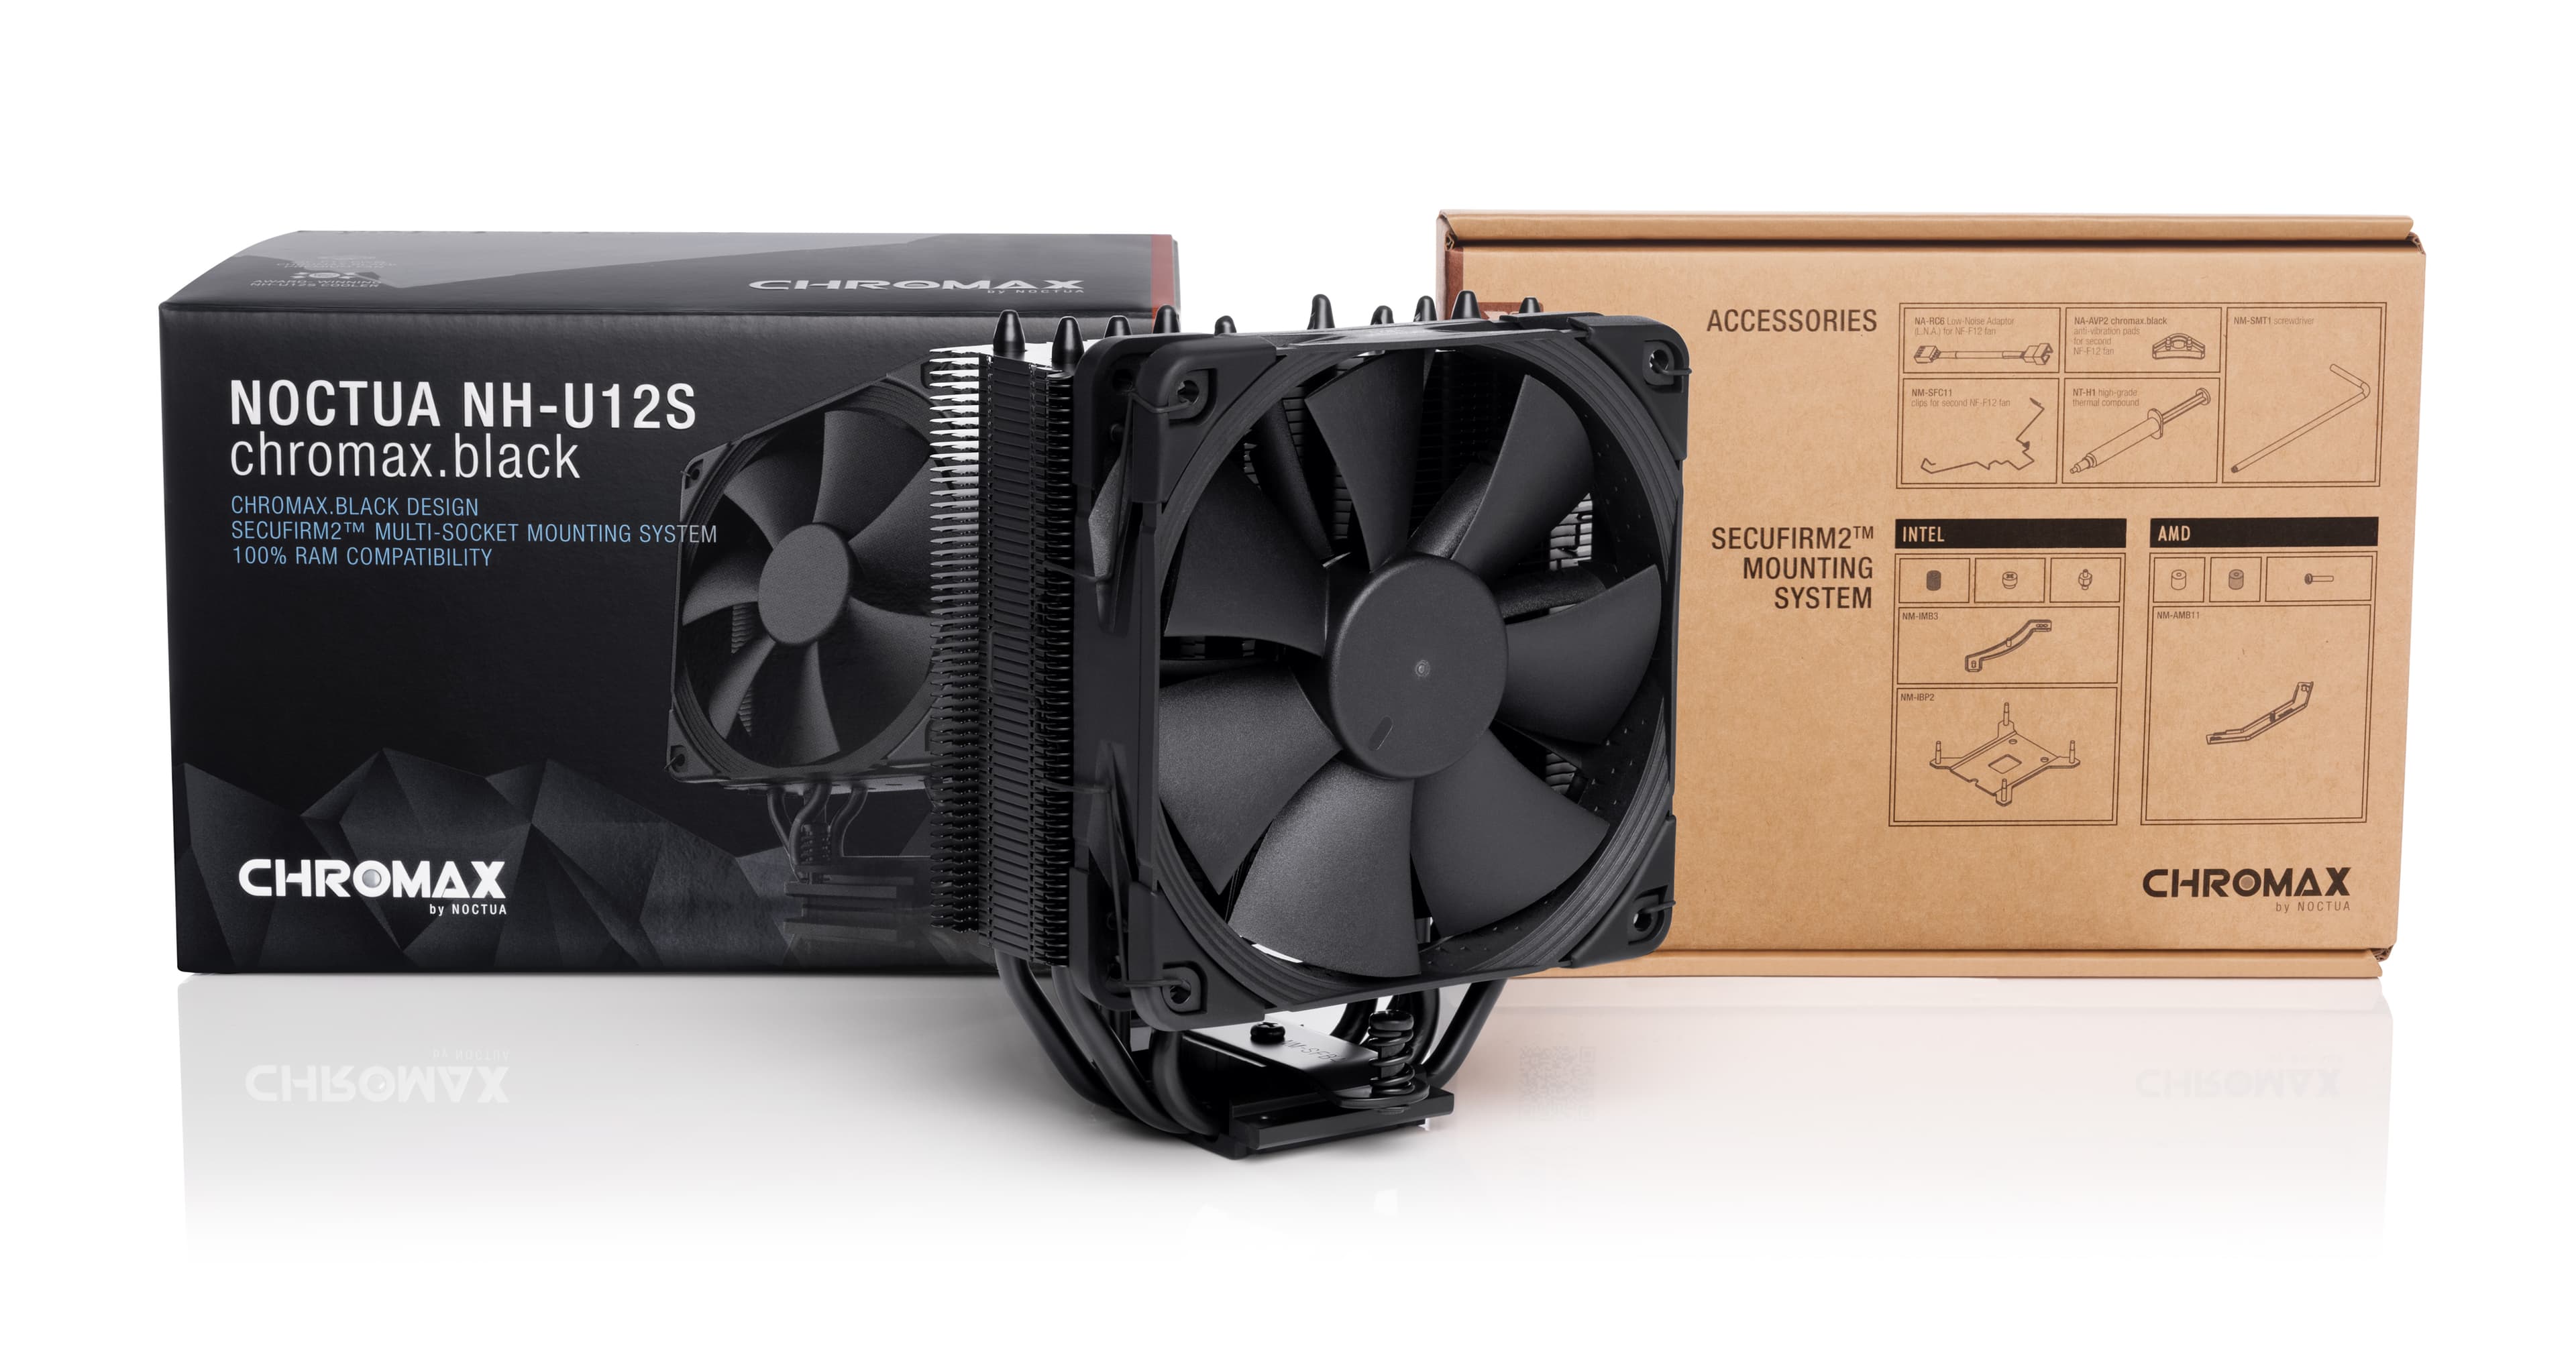
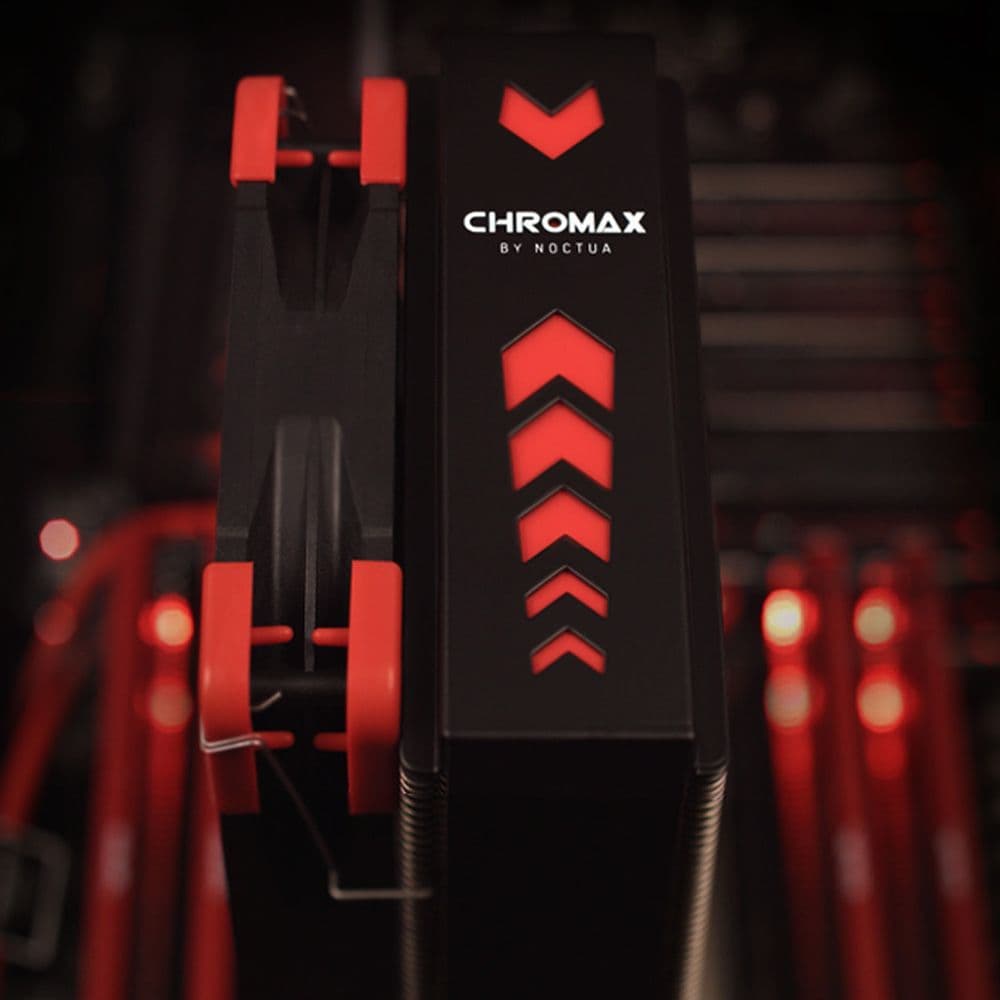
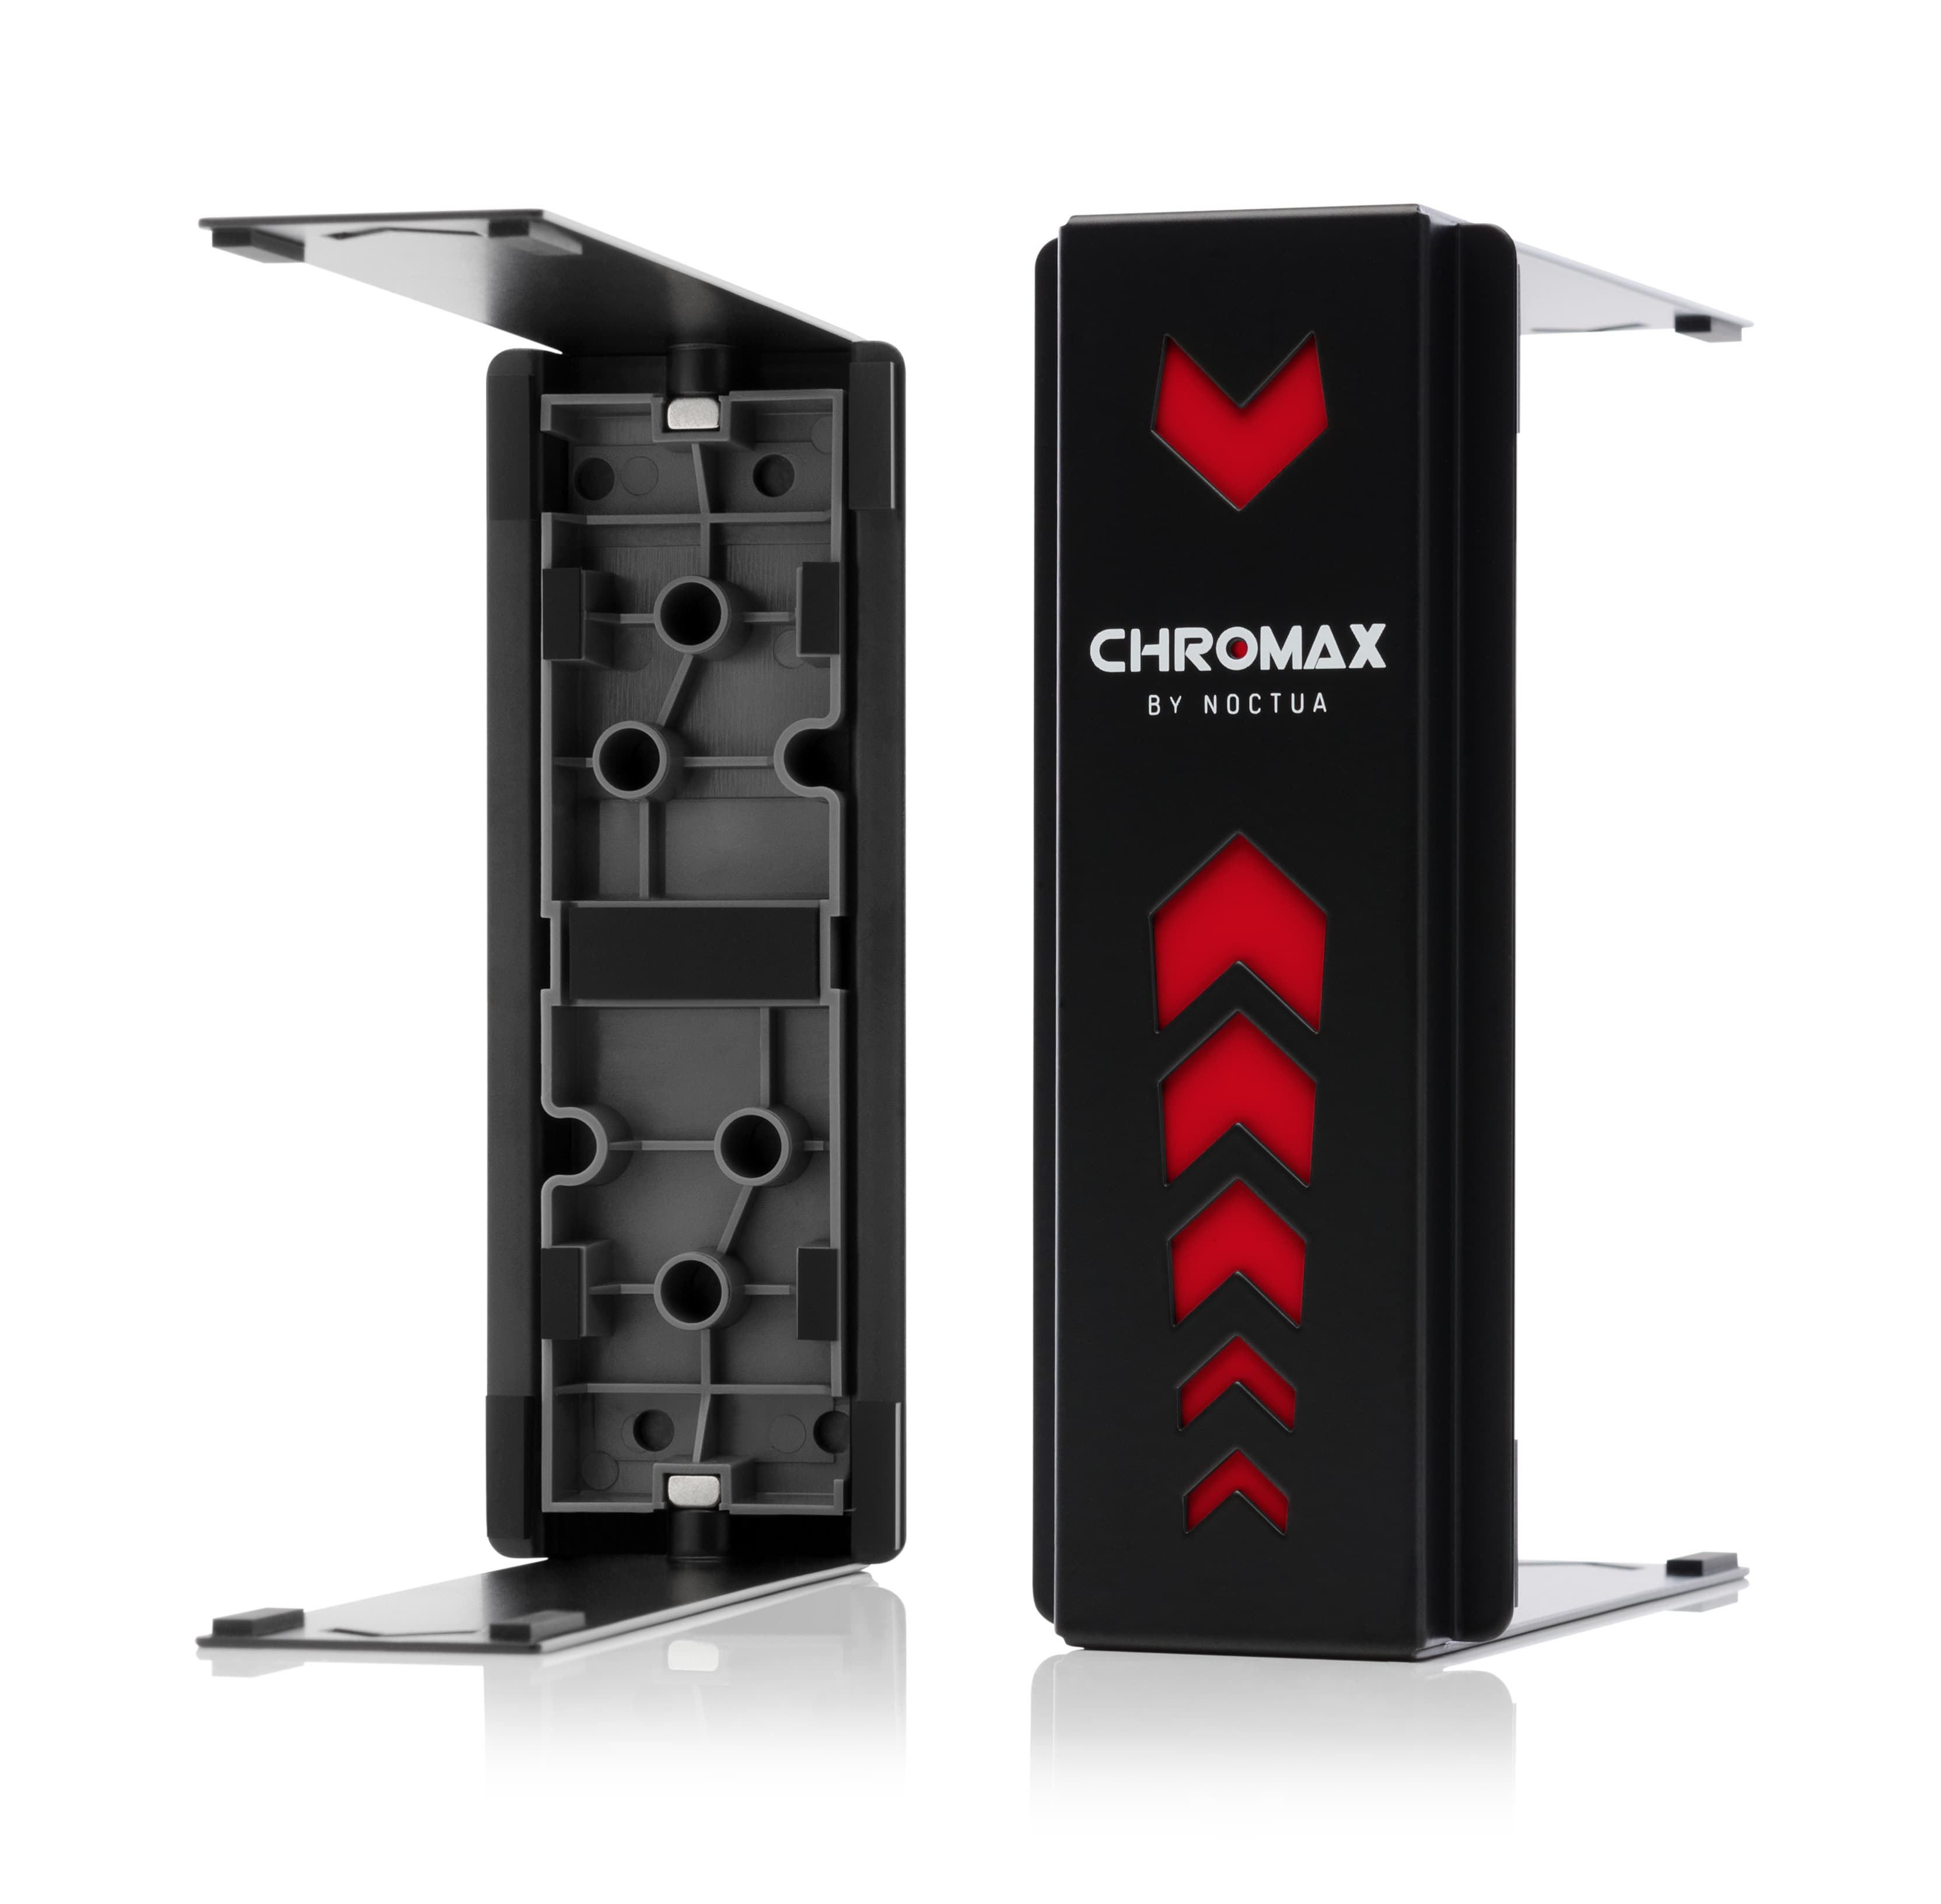
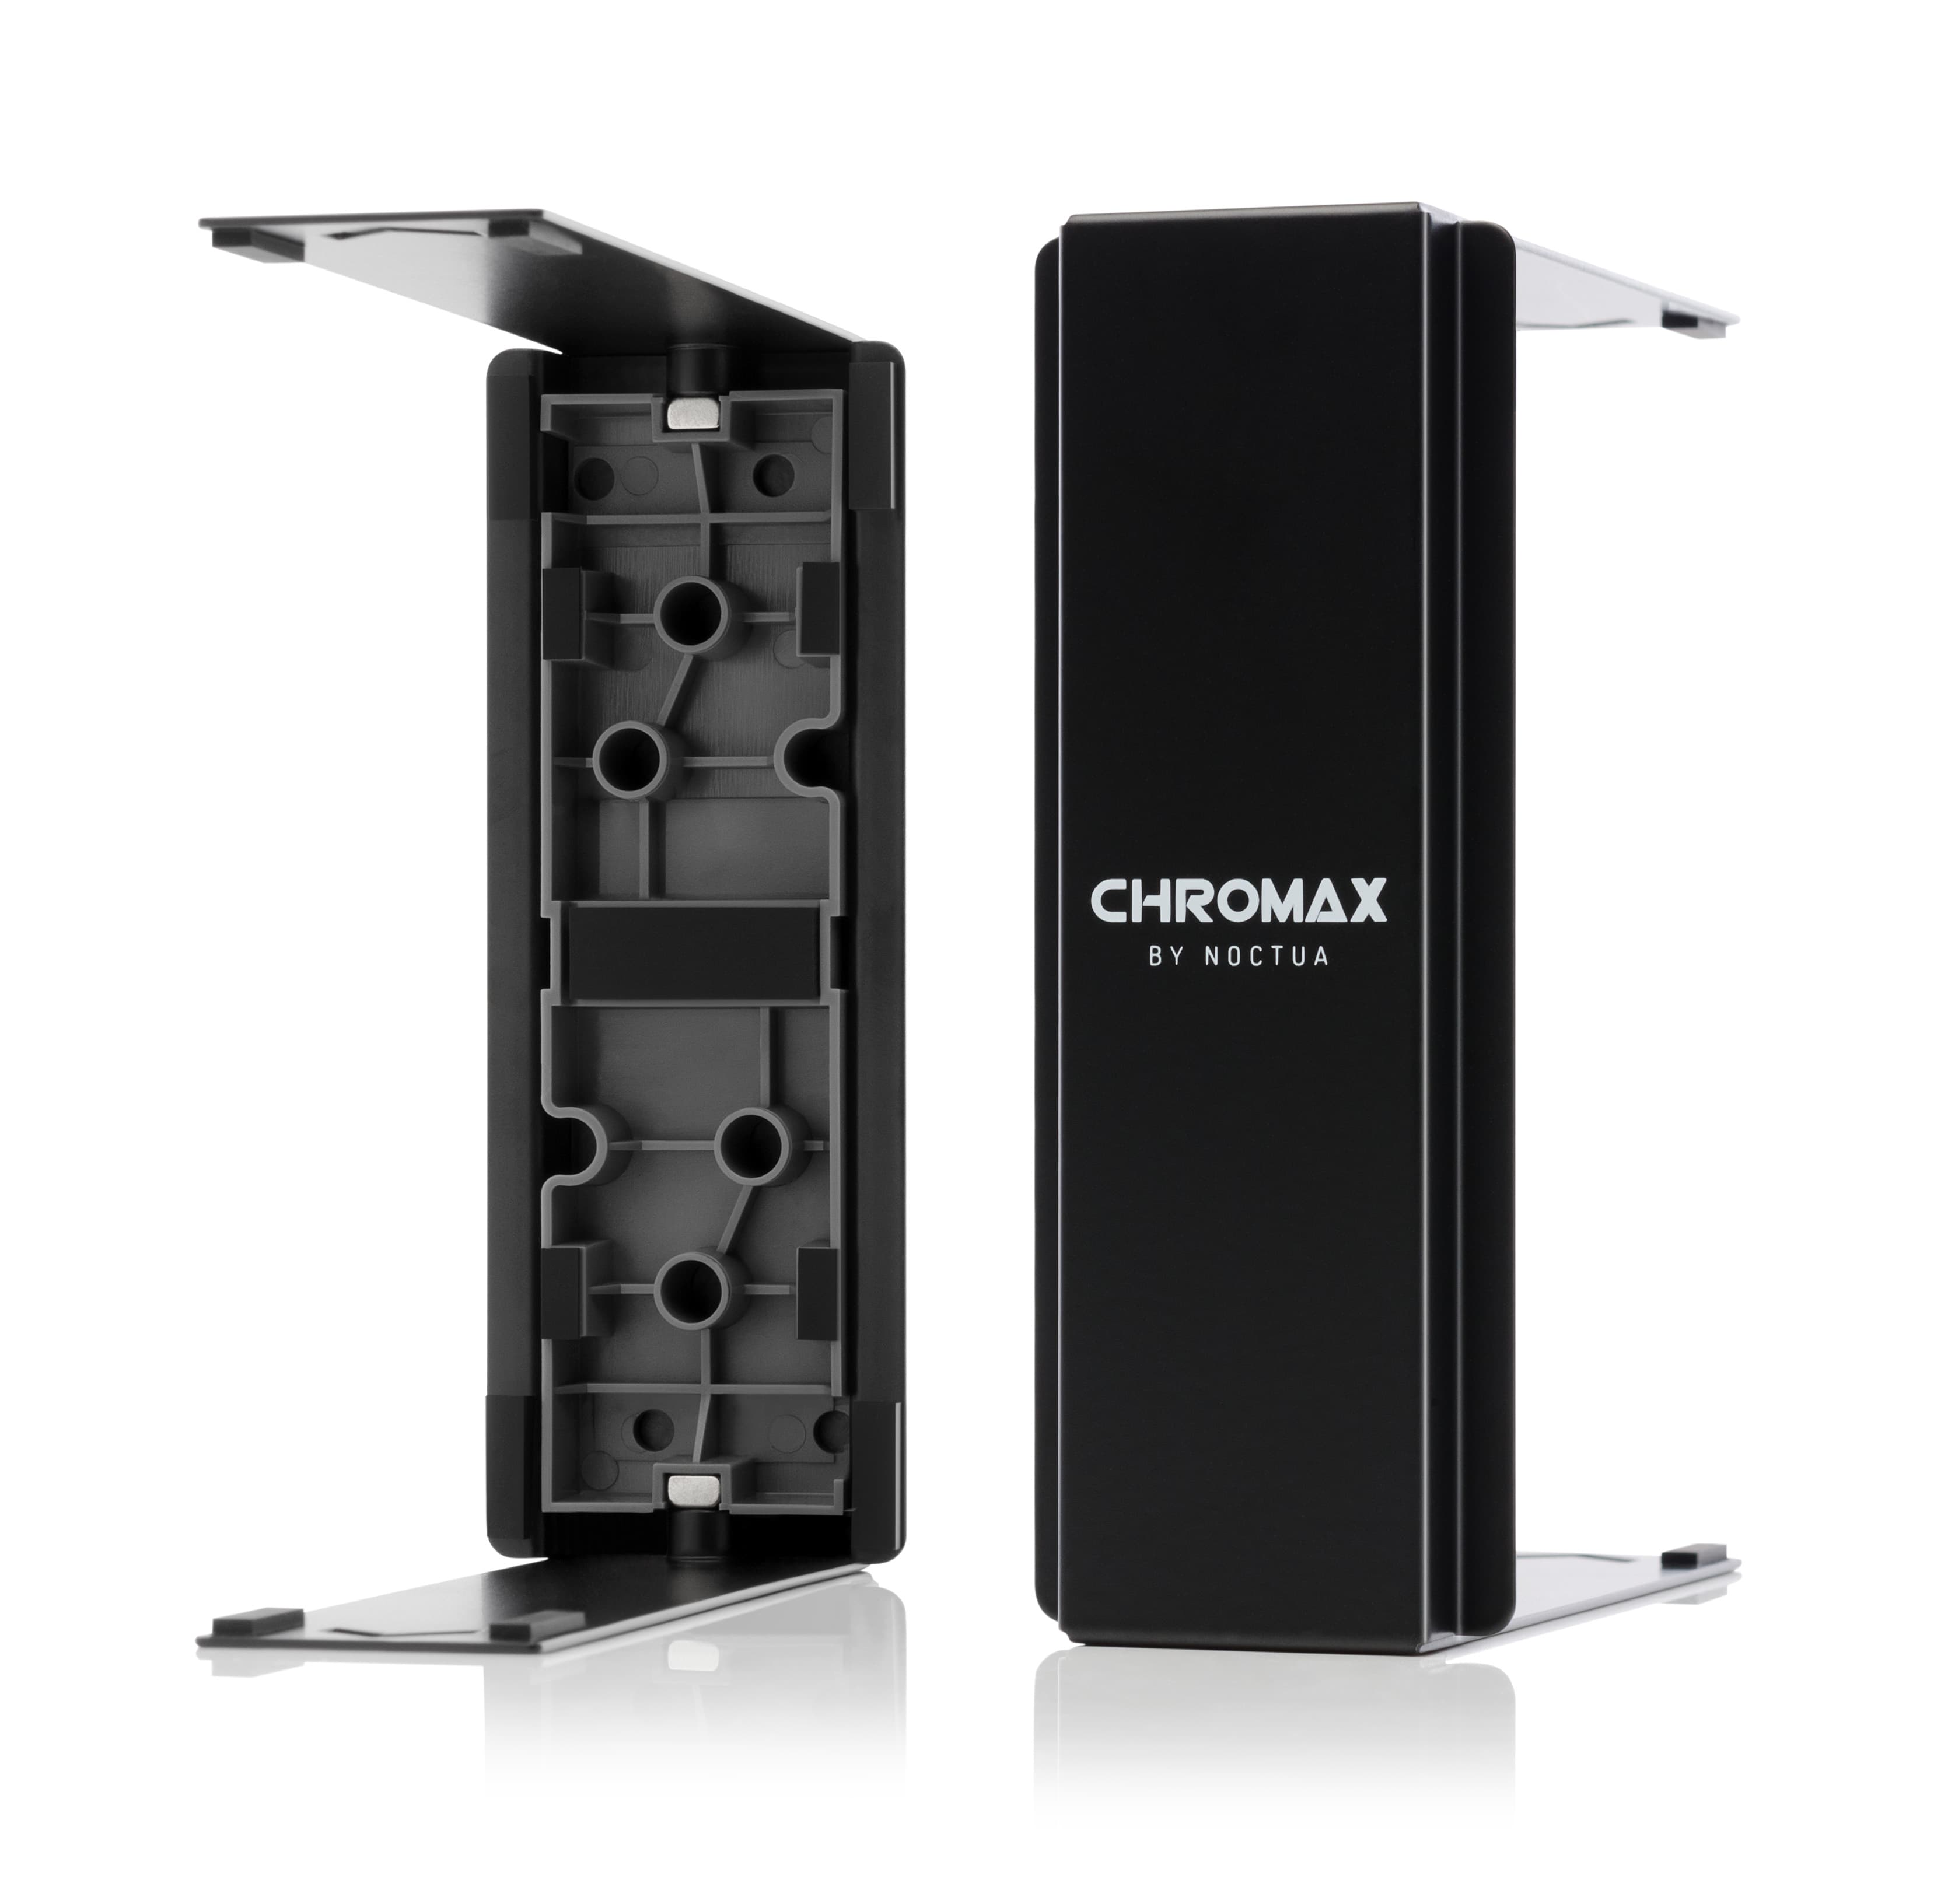
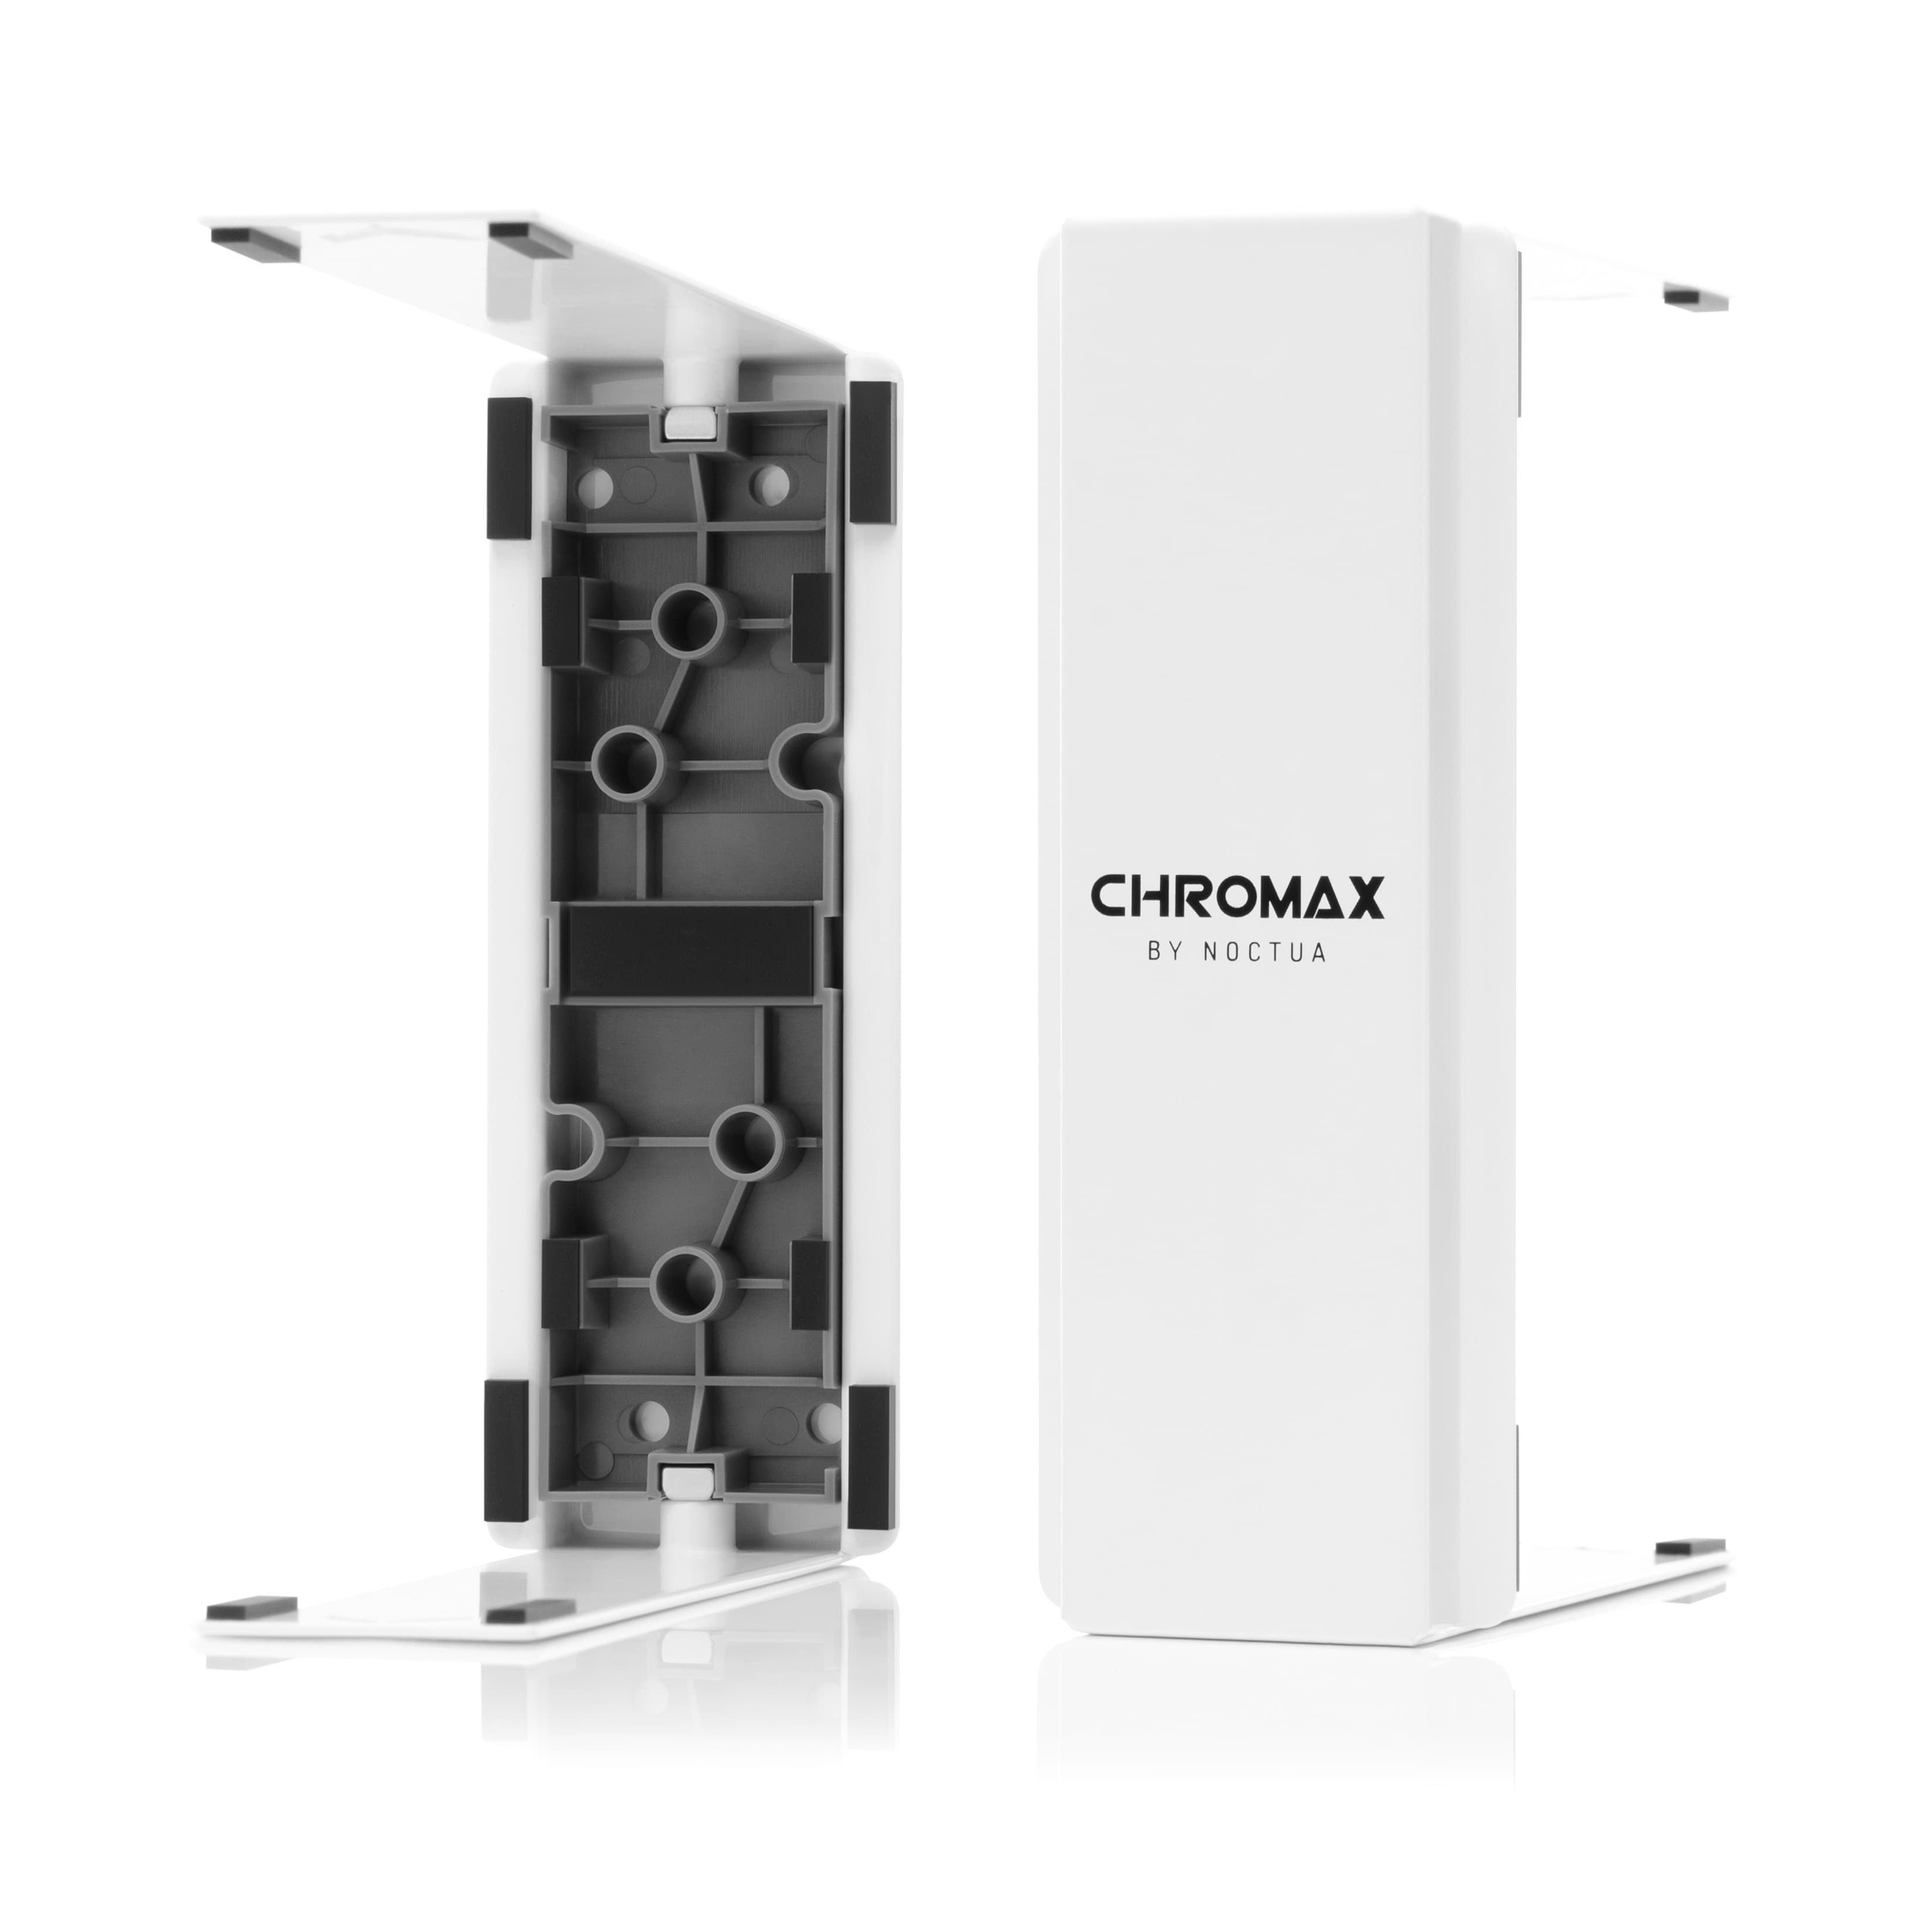
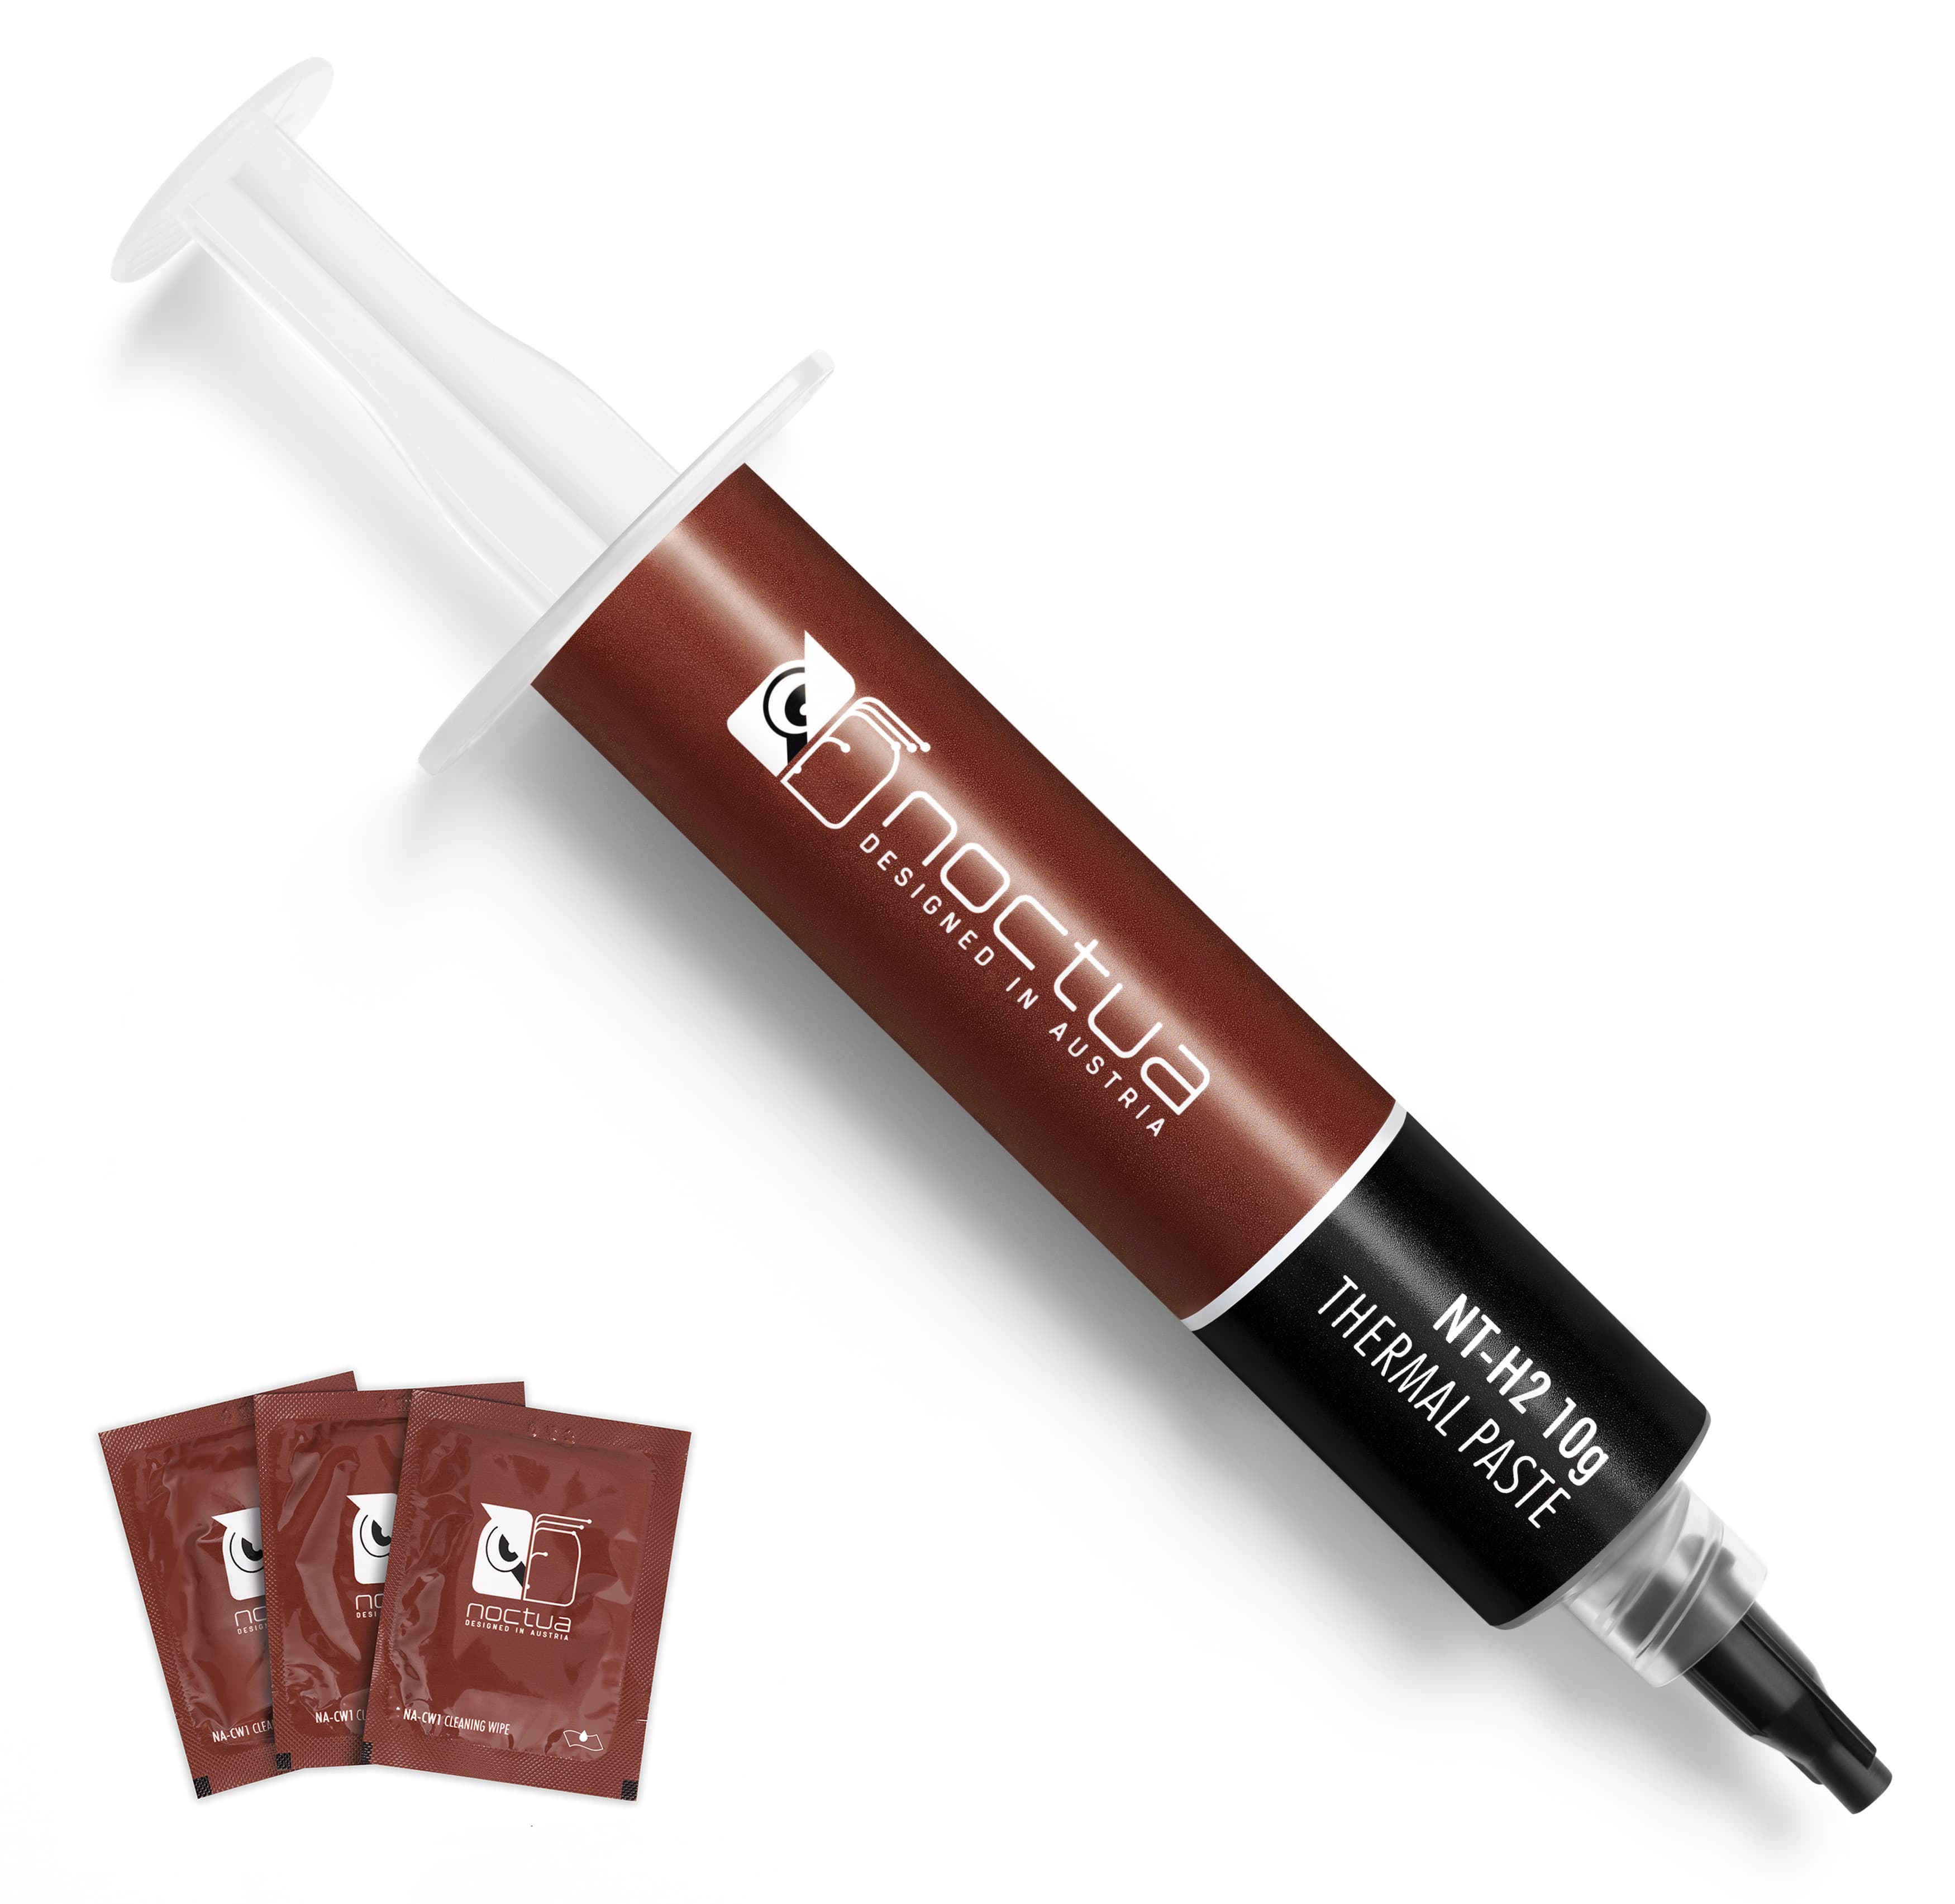
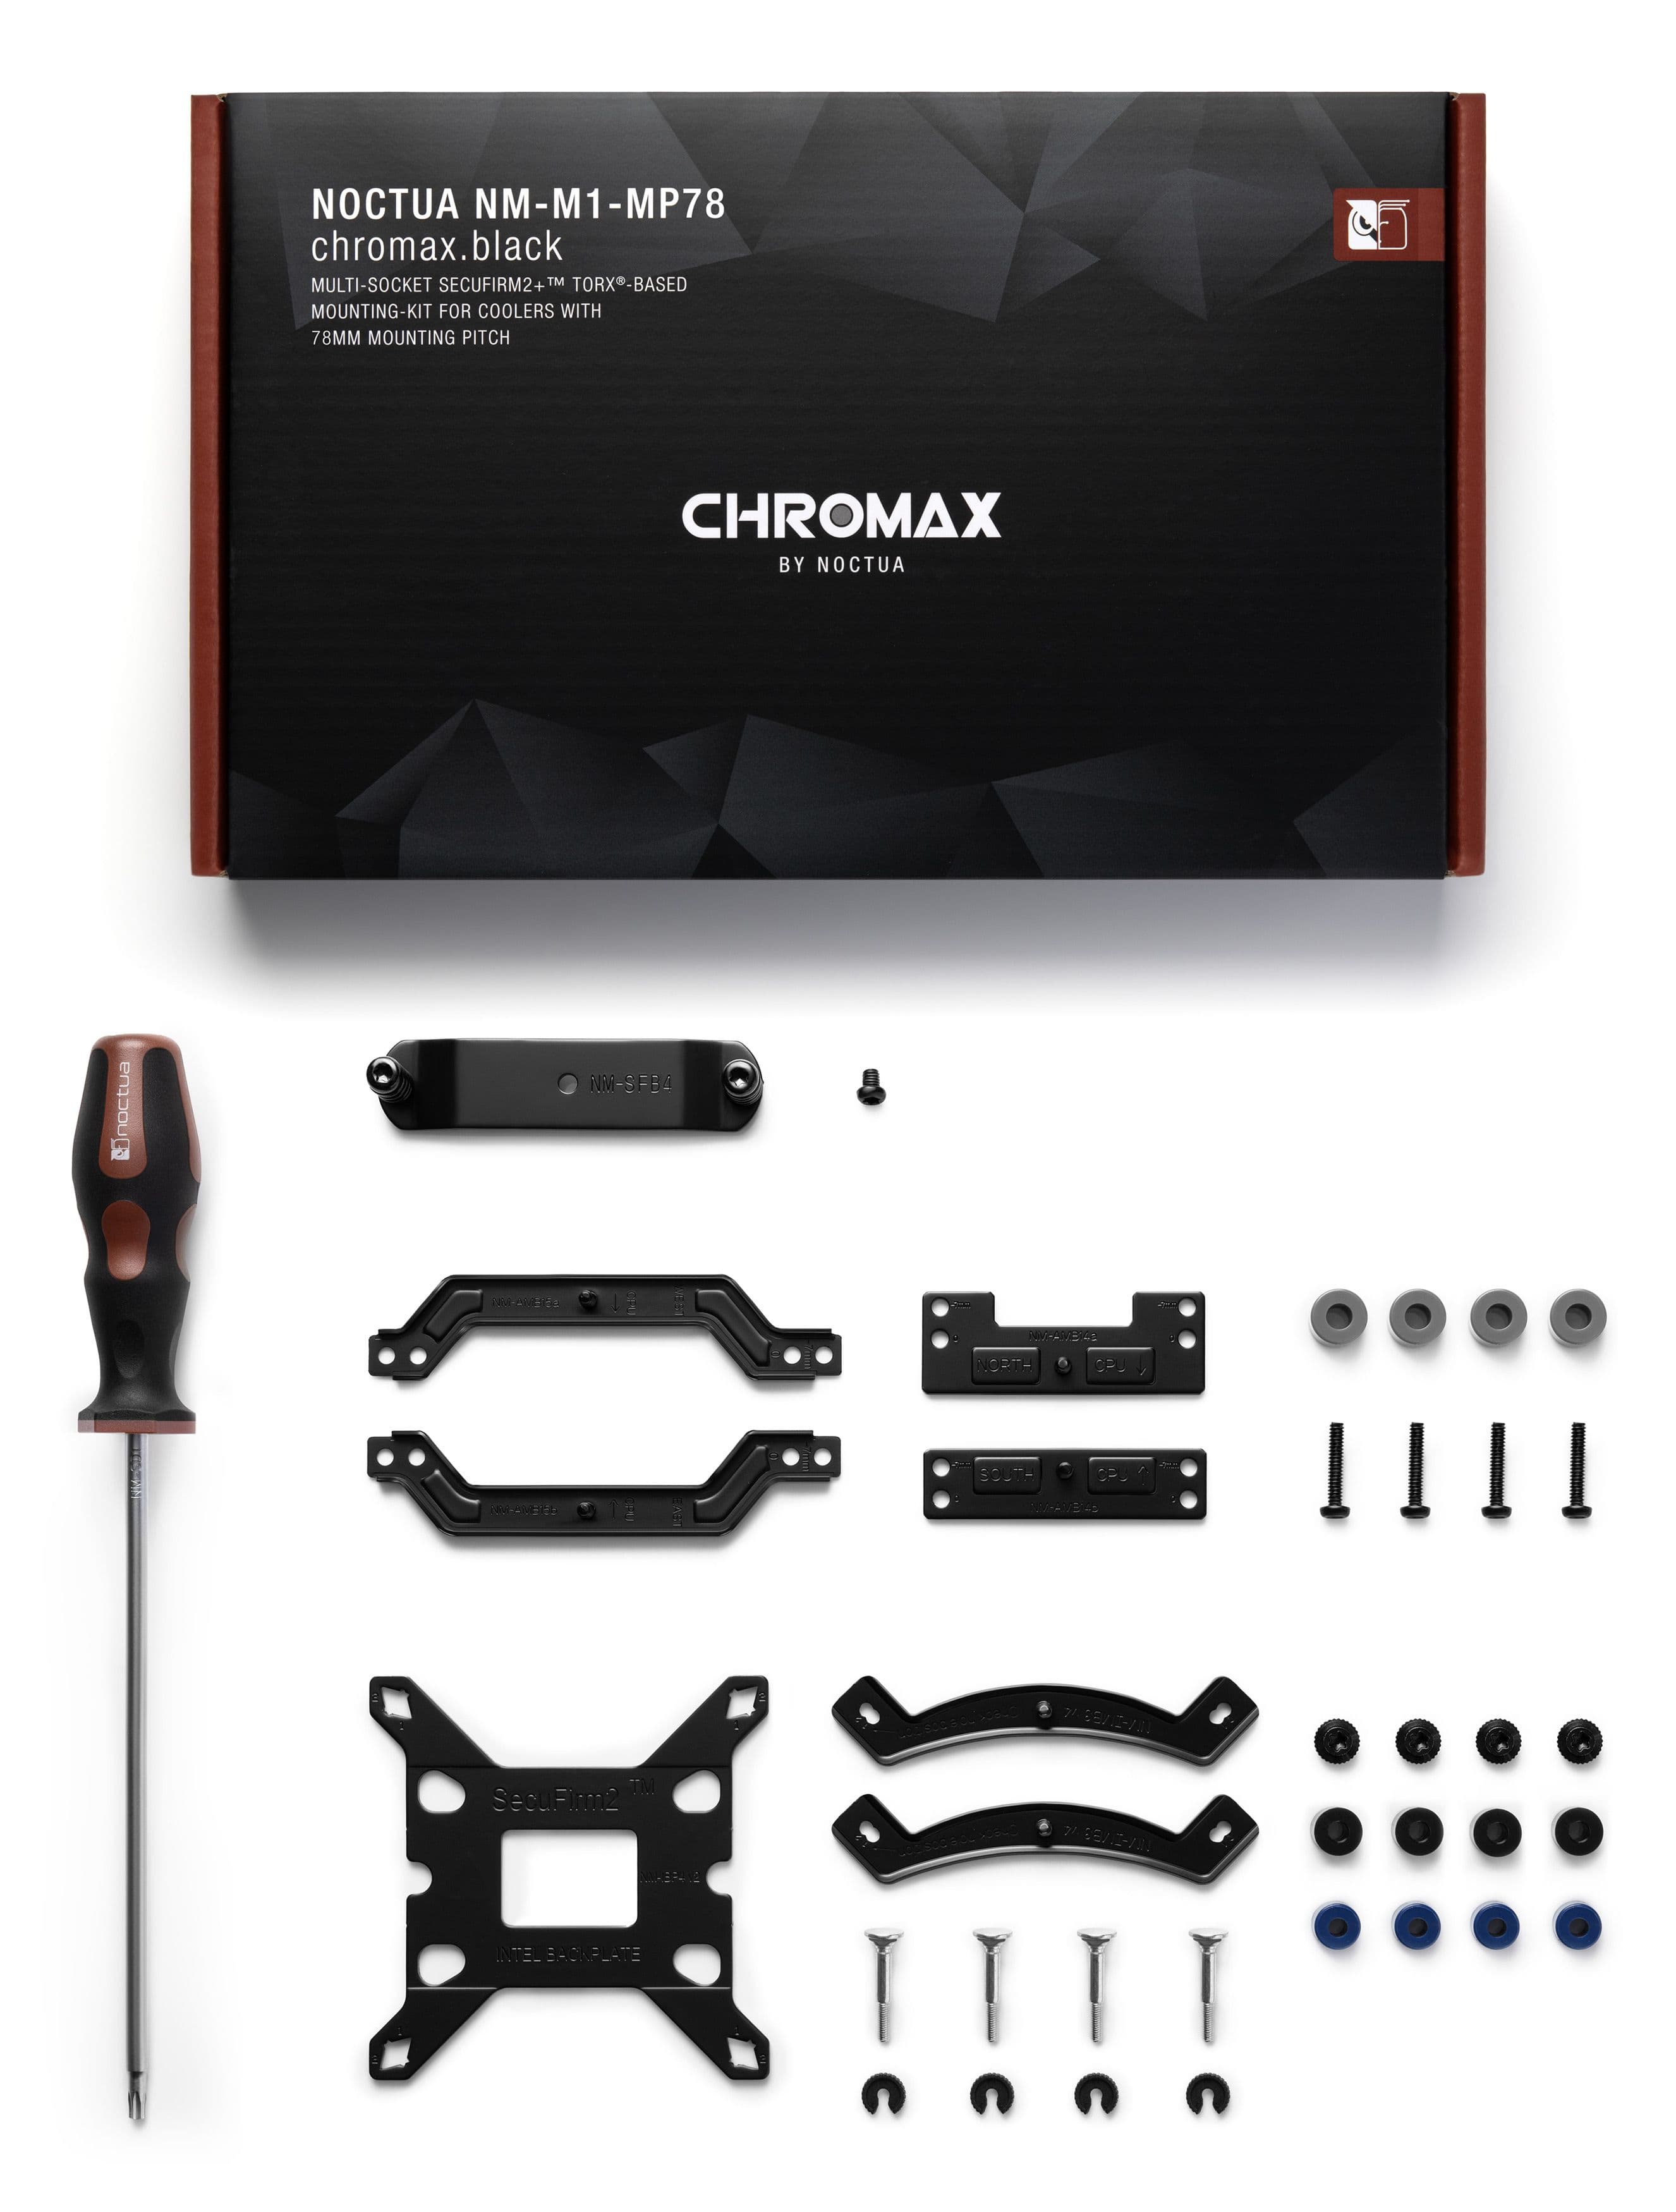
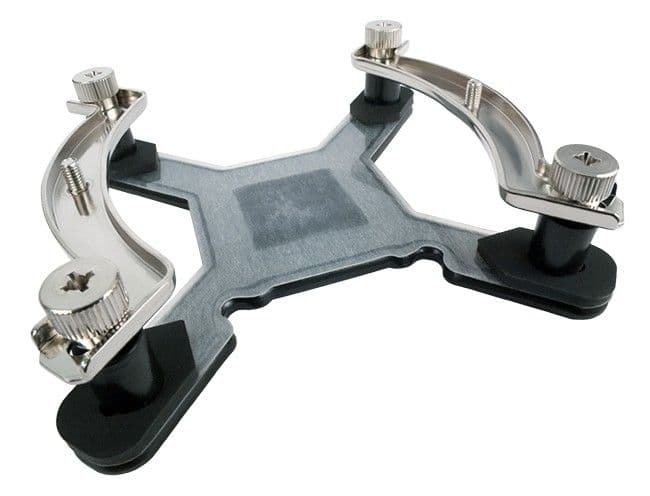
Accessories
Explore recommended accessories for this product.

Our services
Which cooler should I choose?
Need help deciding on a cooler? Check out our buying guide.
Buying guideDoes it fit your setup?
We offer extensive compatibility data for CPUs, motherboards, cases and RAM.
Check compatibility